Notion
Notion Connector
Indexes Notion pages and databases, including nested content and database properties.
Prerequisites - Before you start, make sure you have:
- A running Sercha instance (Quickstart or Development Setup)
- A Notion account with permission to create integrations
1. Create a Notion Public Integration
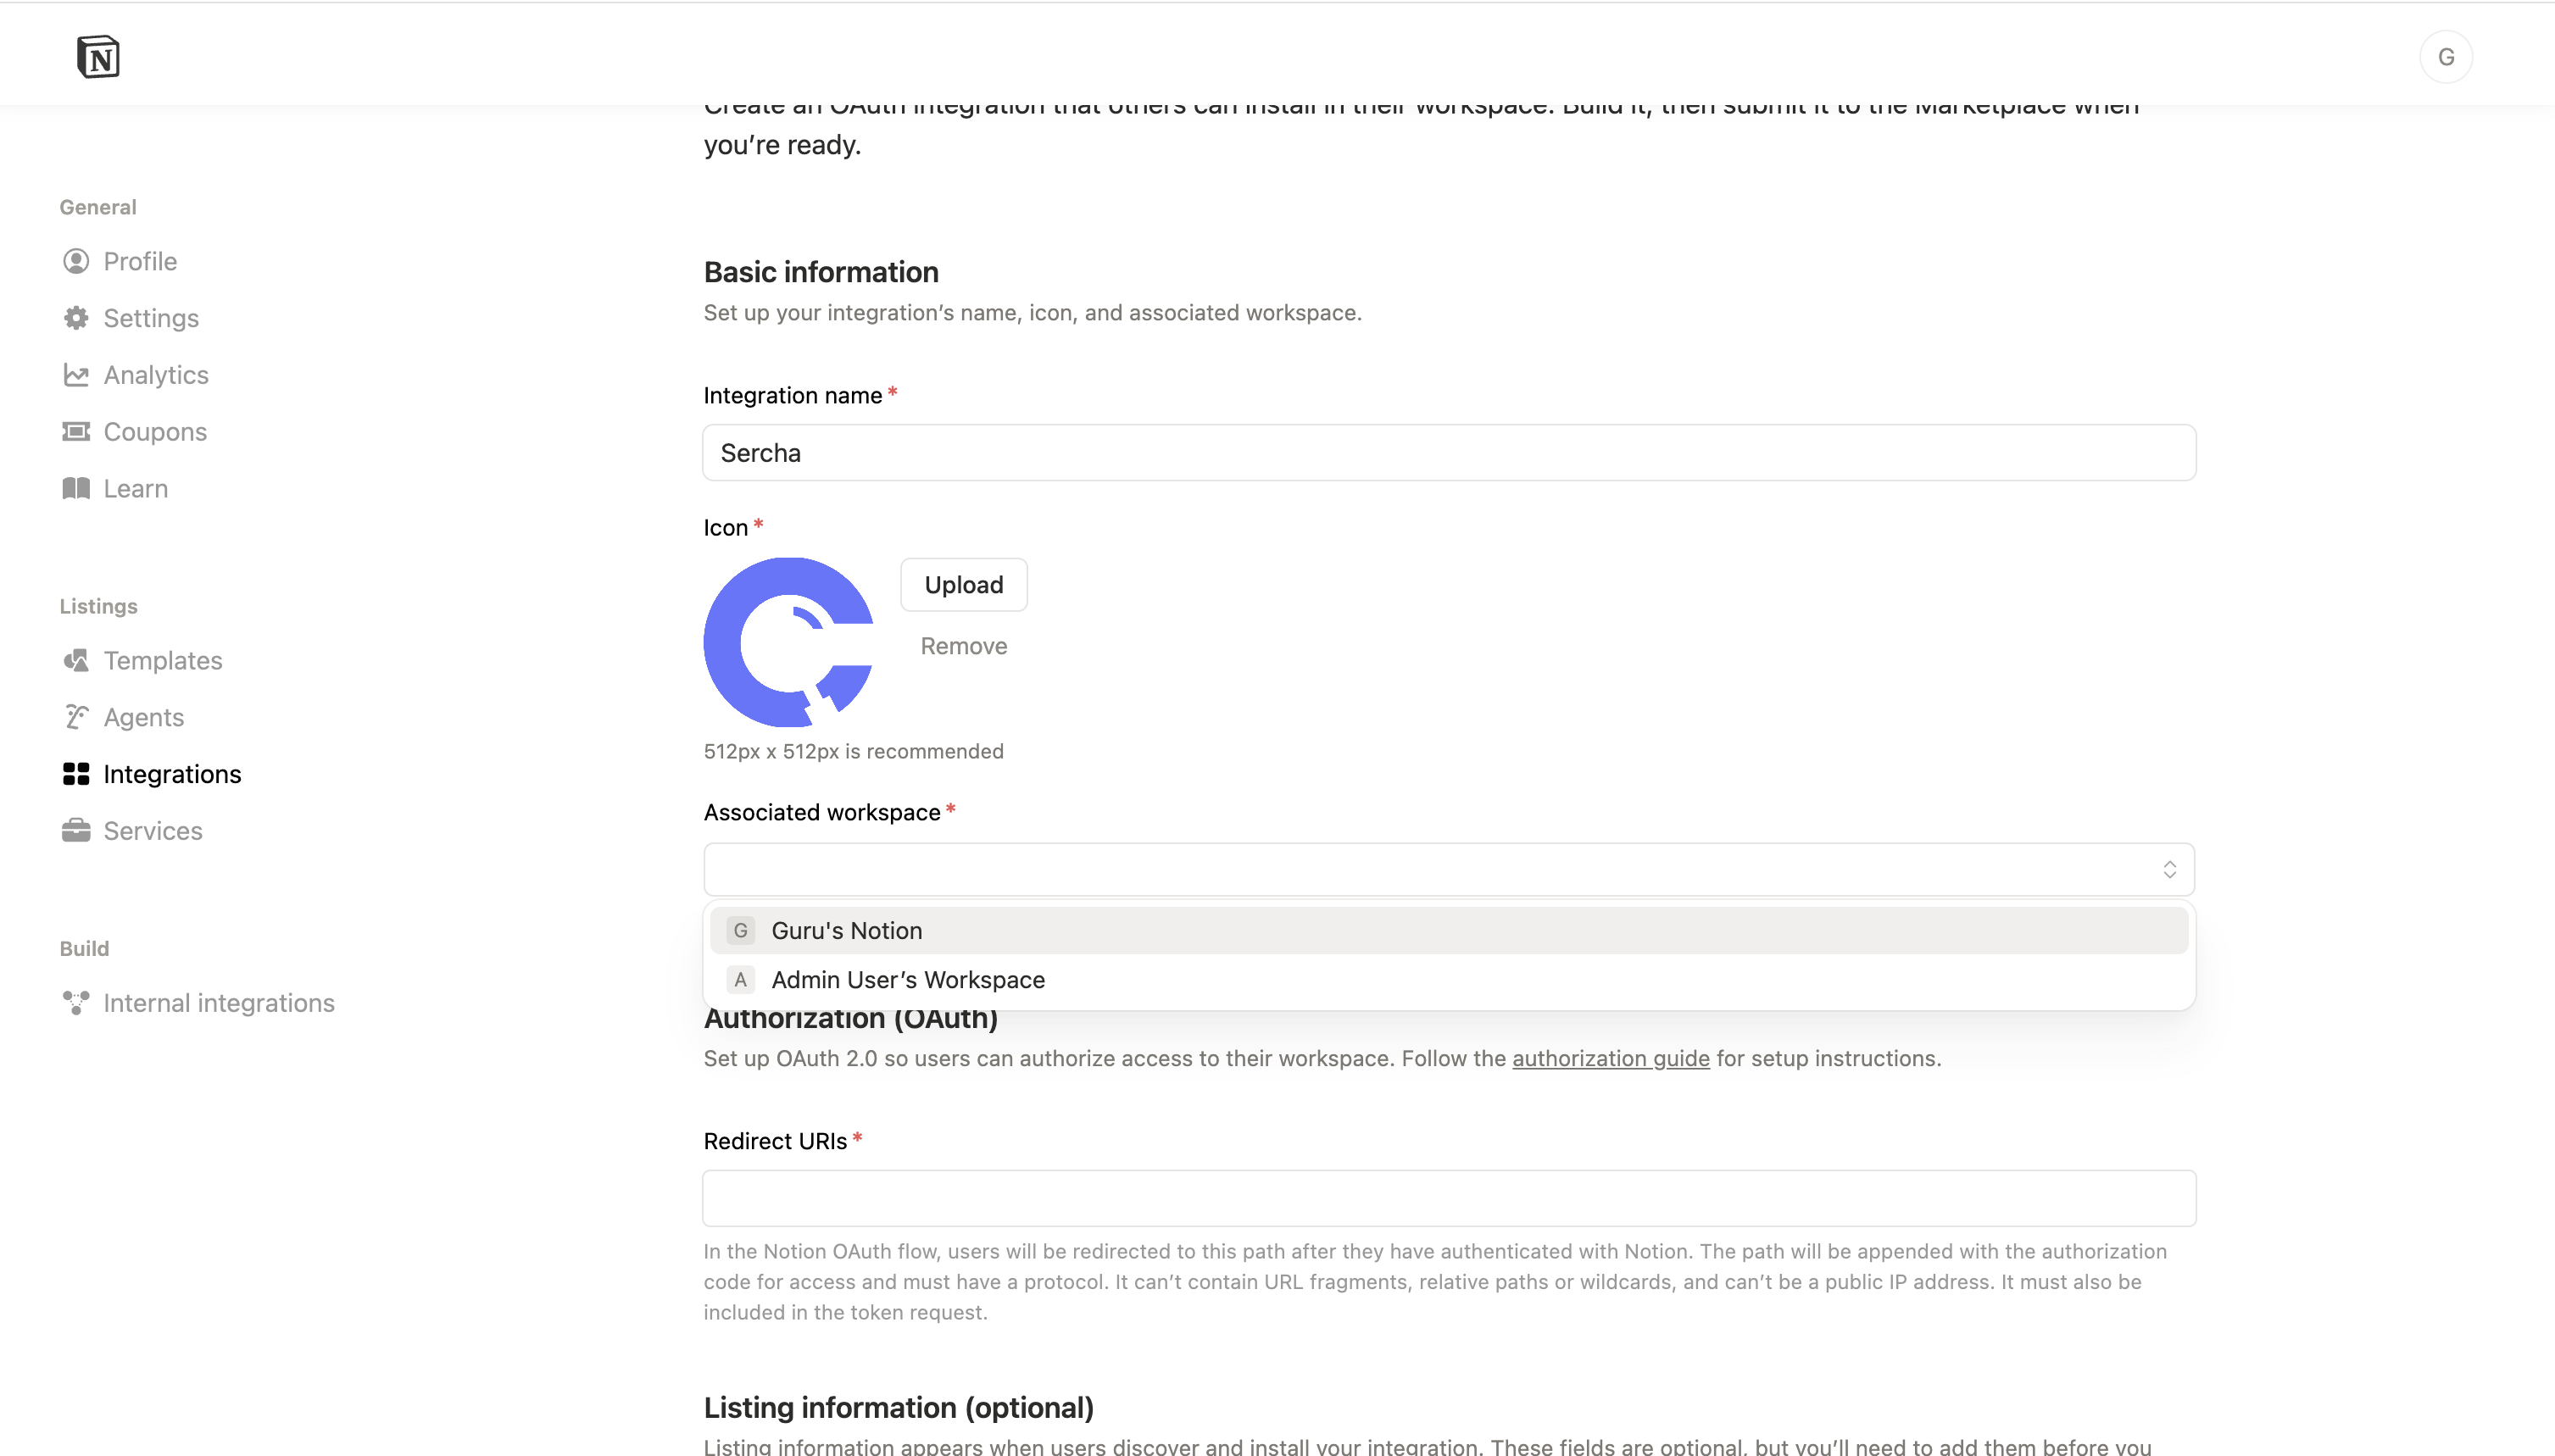
Go to Create a new public integration on Notion.
Select the workspace where you want to create the integration:
2. Configure the redirect URI
Set the Redirect URI to your Sercha callback URL:
| Field | Value |
|---|---|
| Redirect URI | http://localhost:8080/api/v1/oauth/callback |
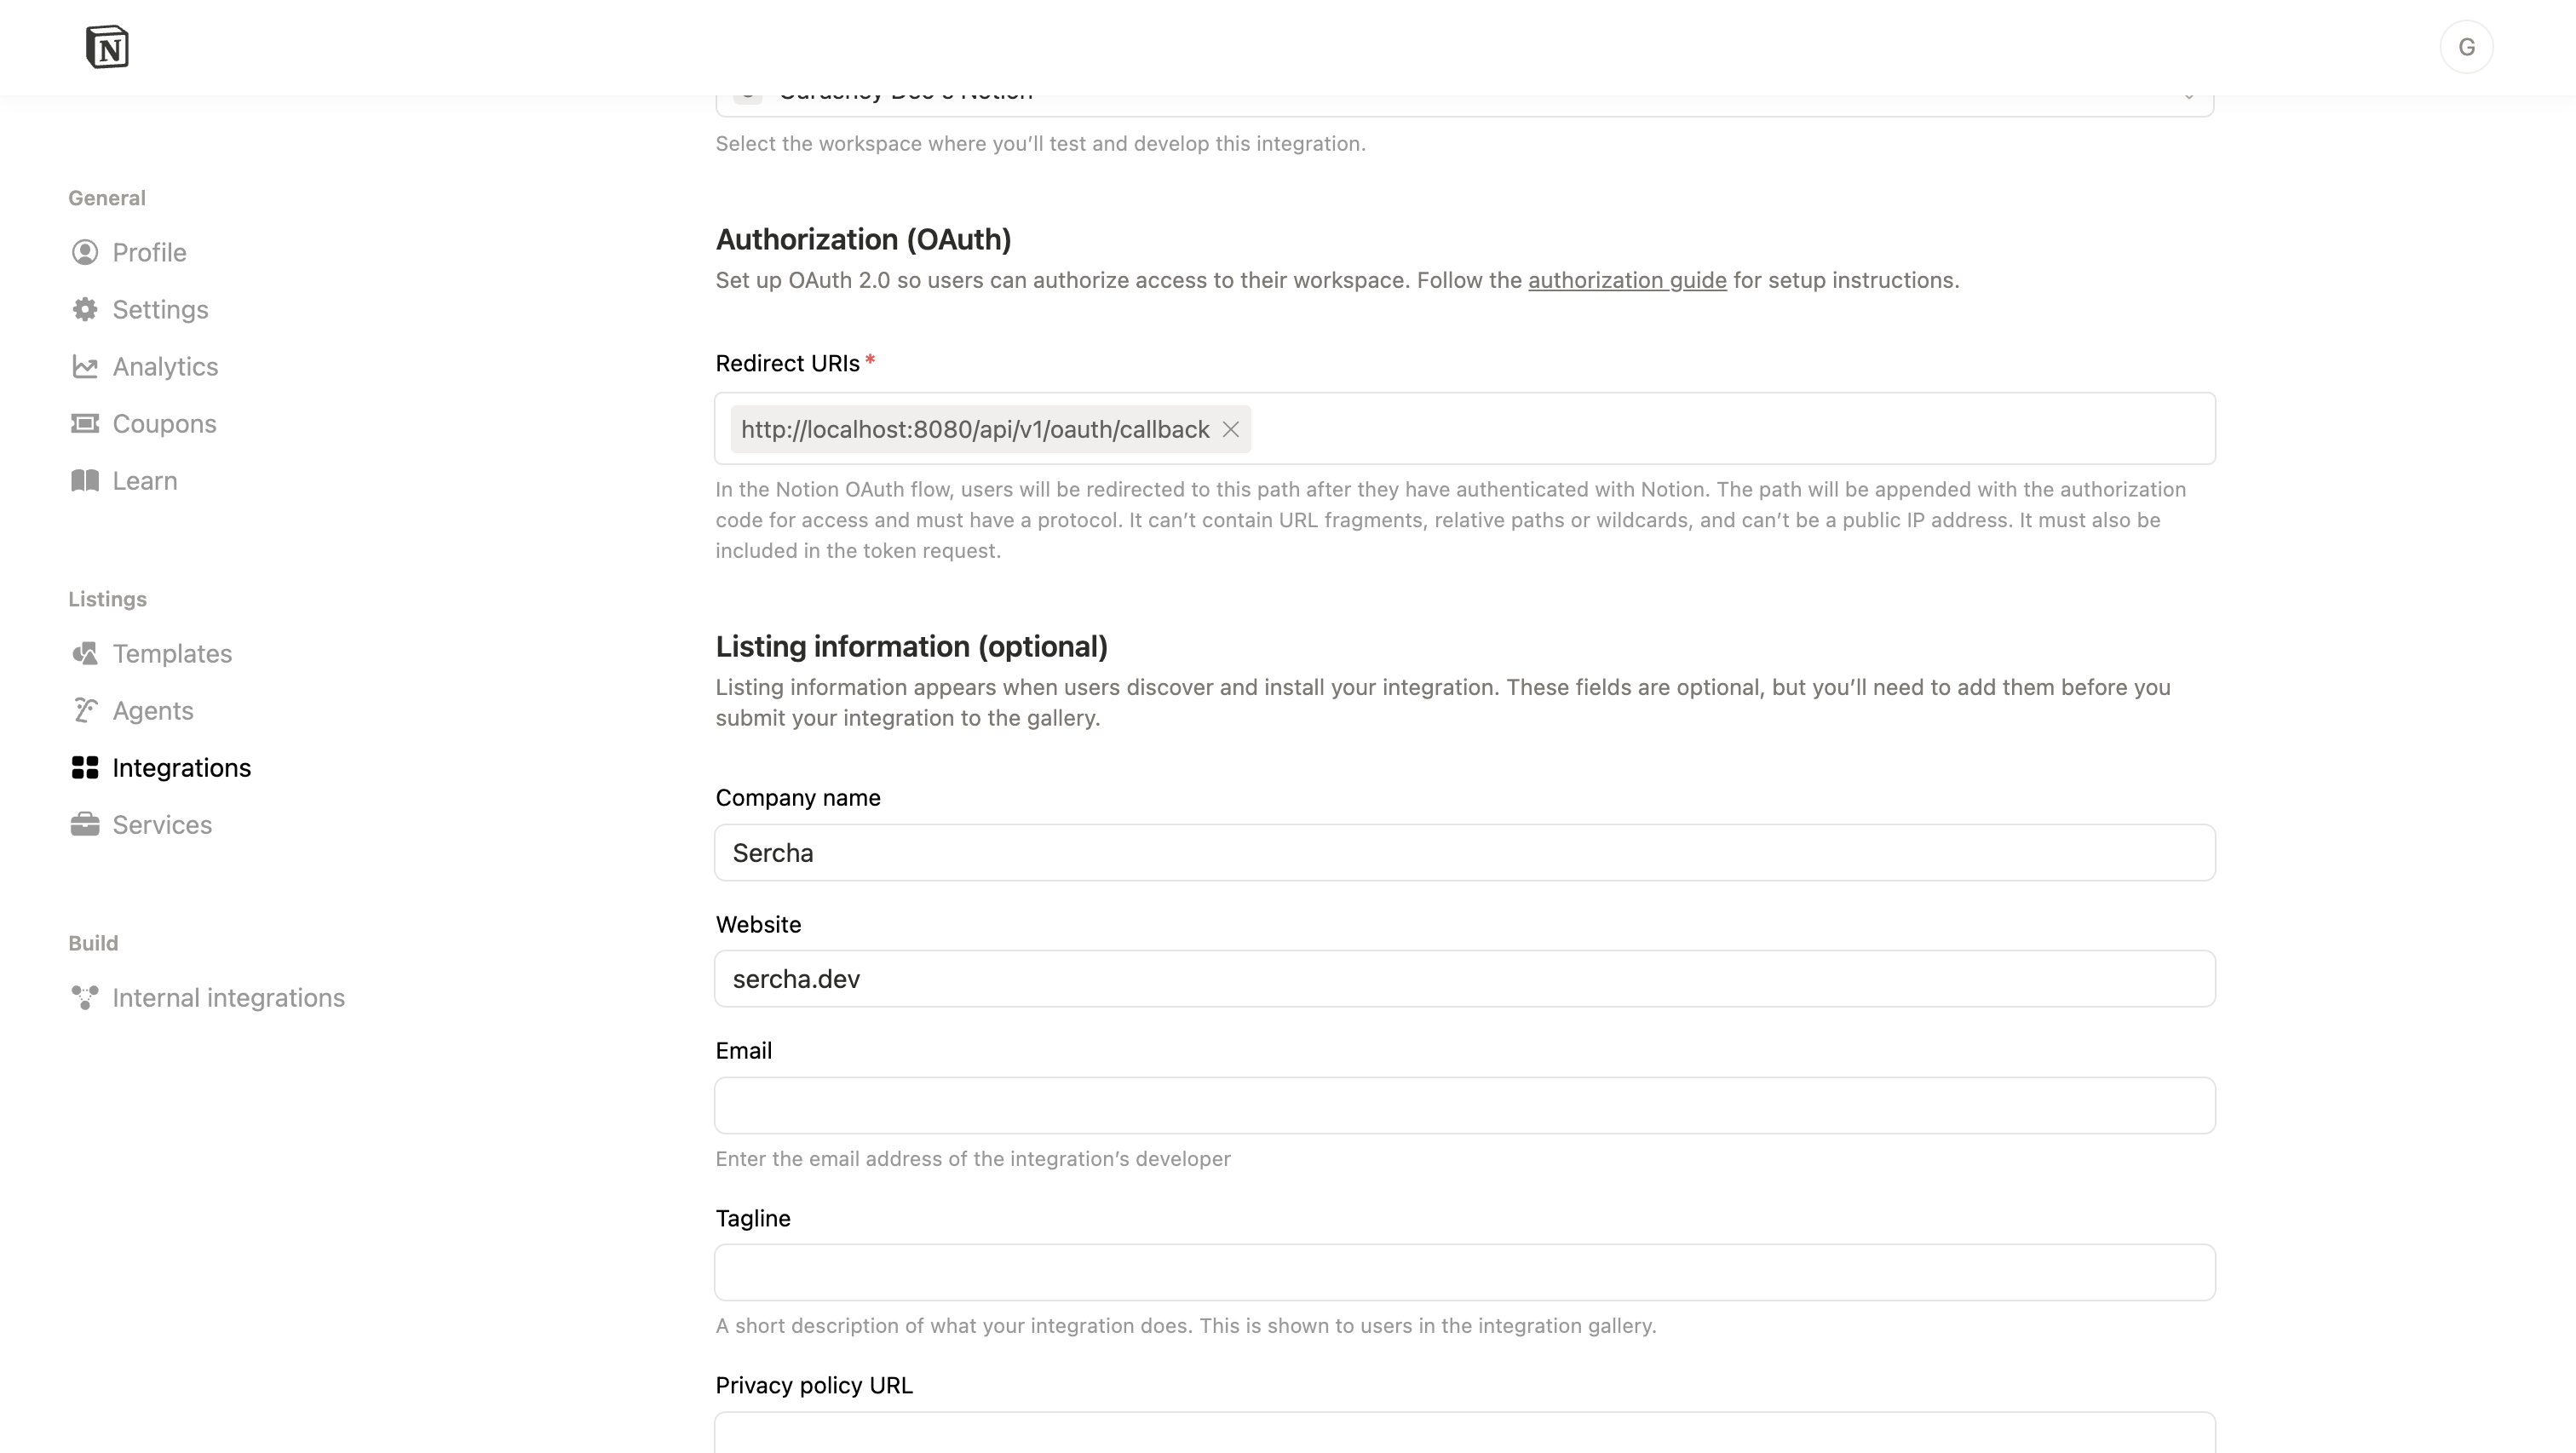
Since this is designed to work as an internal integration, Notion verification won't be needed. Optional fields can be left blank:
- Company name
- Website
- Developer email
- Tagline
- Privacy policy URL
- Terms of use URL
Click Submit to create the integration.
3. Copy the Client ID and Client Secret
After creating the integration, you'll be taken to the integration settings page. From here:
- Copy the OAuth client ID
- Copy the OAuth client secret
Copy the secret now. You may need to regenerate it if you navigate away without saving it.
4. Configure the provider
Add the credentials to your .env file (in your Sercha deployment directory):
NOTION_CLIENT_ID=your_client_id
NOTION_CLIENT_SECRET=your_client_secret
5. Restart the backend
Restart the backend container so it picks up the new credentials:
docker compose restart sercha-core
No data is lost when restarting. The backend containers are stateless - all data is persisted in PostgreSQL and OpenSearch.
You can verify the provider is configured via List Providers:
curl http://localhost:8080/api/v1/providers \
  -H "Authorization: Bearer $TOKEN"
Notion should show "configured": true, "enabled": true.
From here you can continue setup using either the Admin UI or the API.
- Admin UI
- API
6. Connect your Notion account
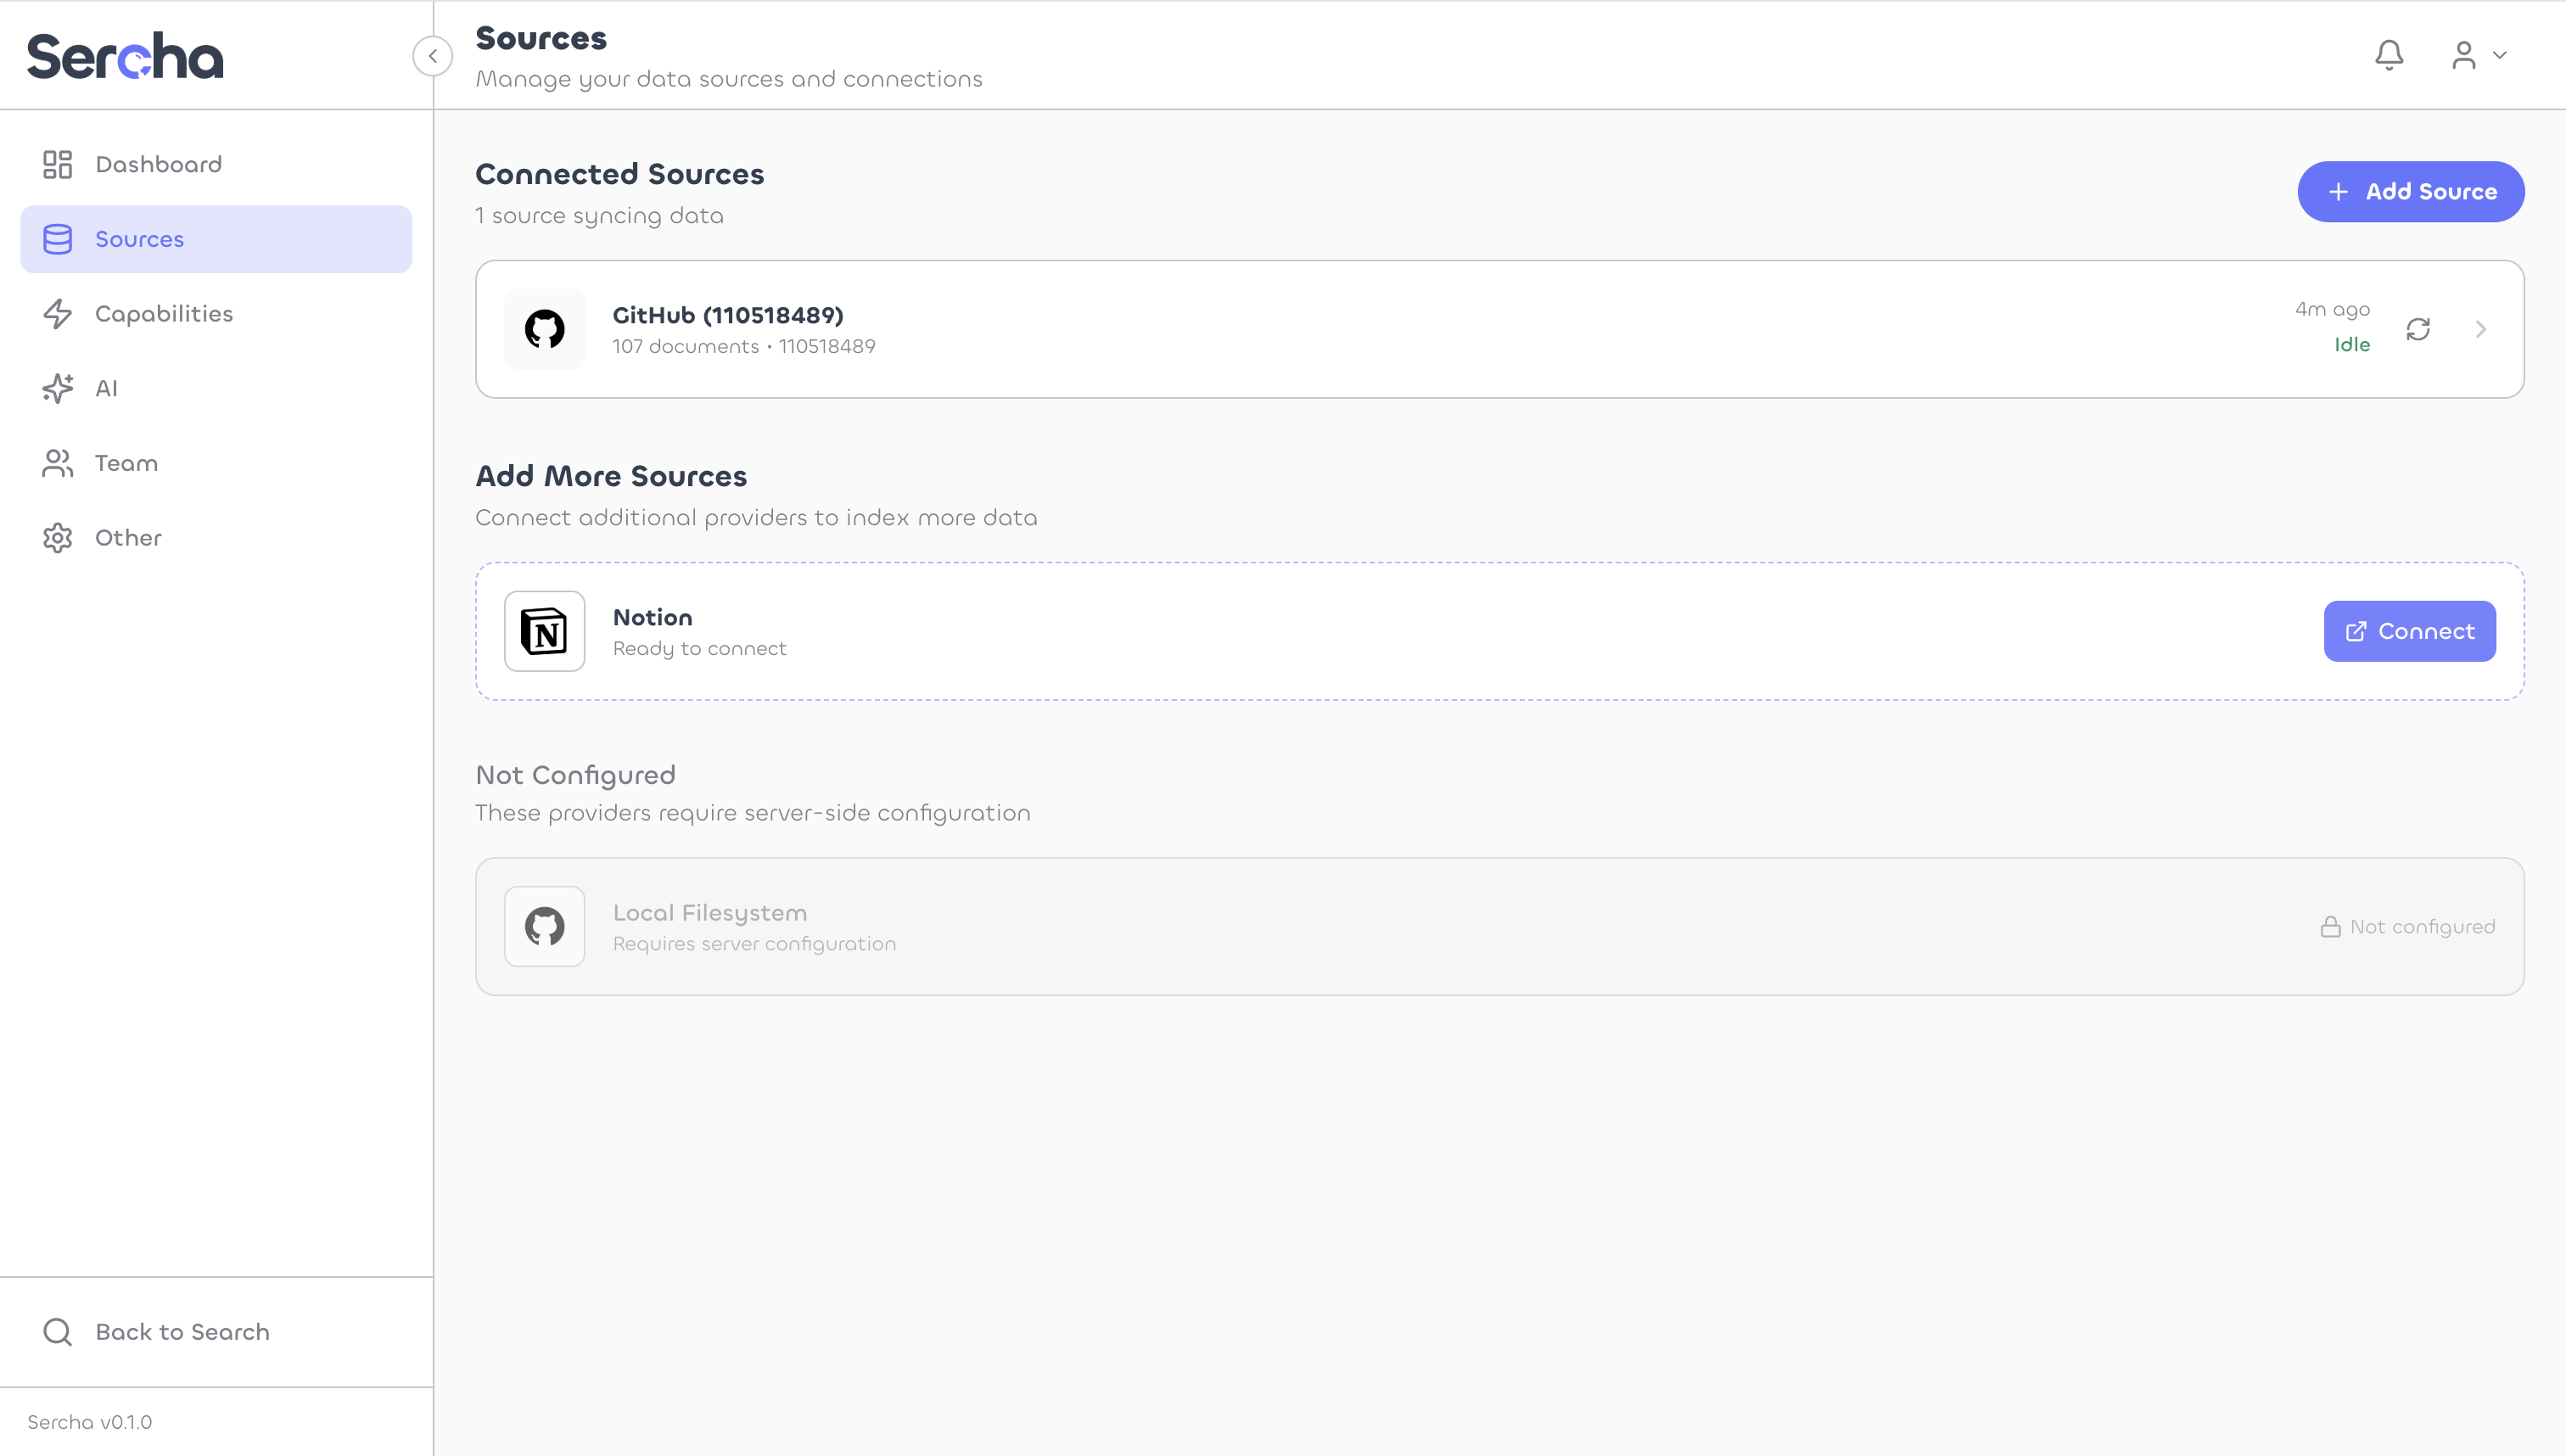
Open http://localhost:3000/admin/sources in your browser. You'll see Notion listed under the available providers. Click Connect on the Notion row.
Your browser redirects to the Notion consent page. Review the permissions and click Select pages.
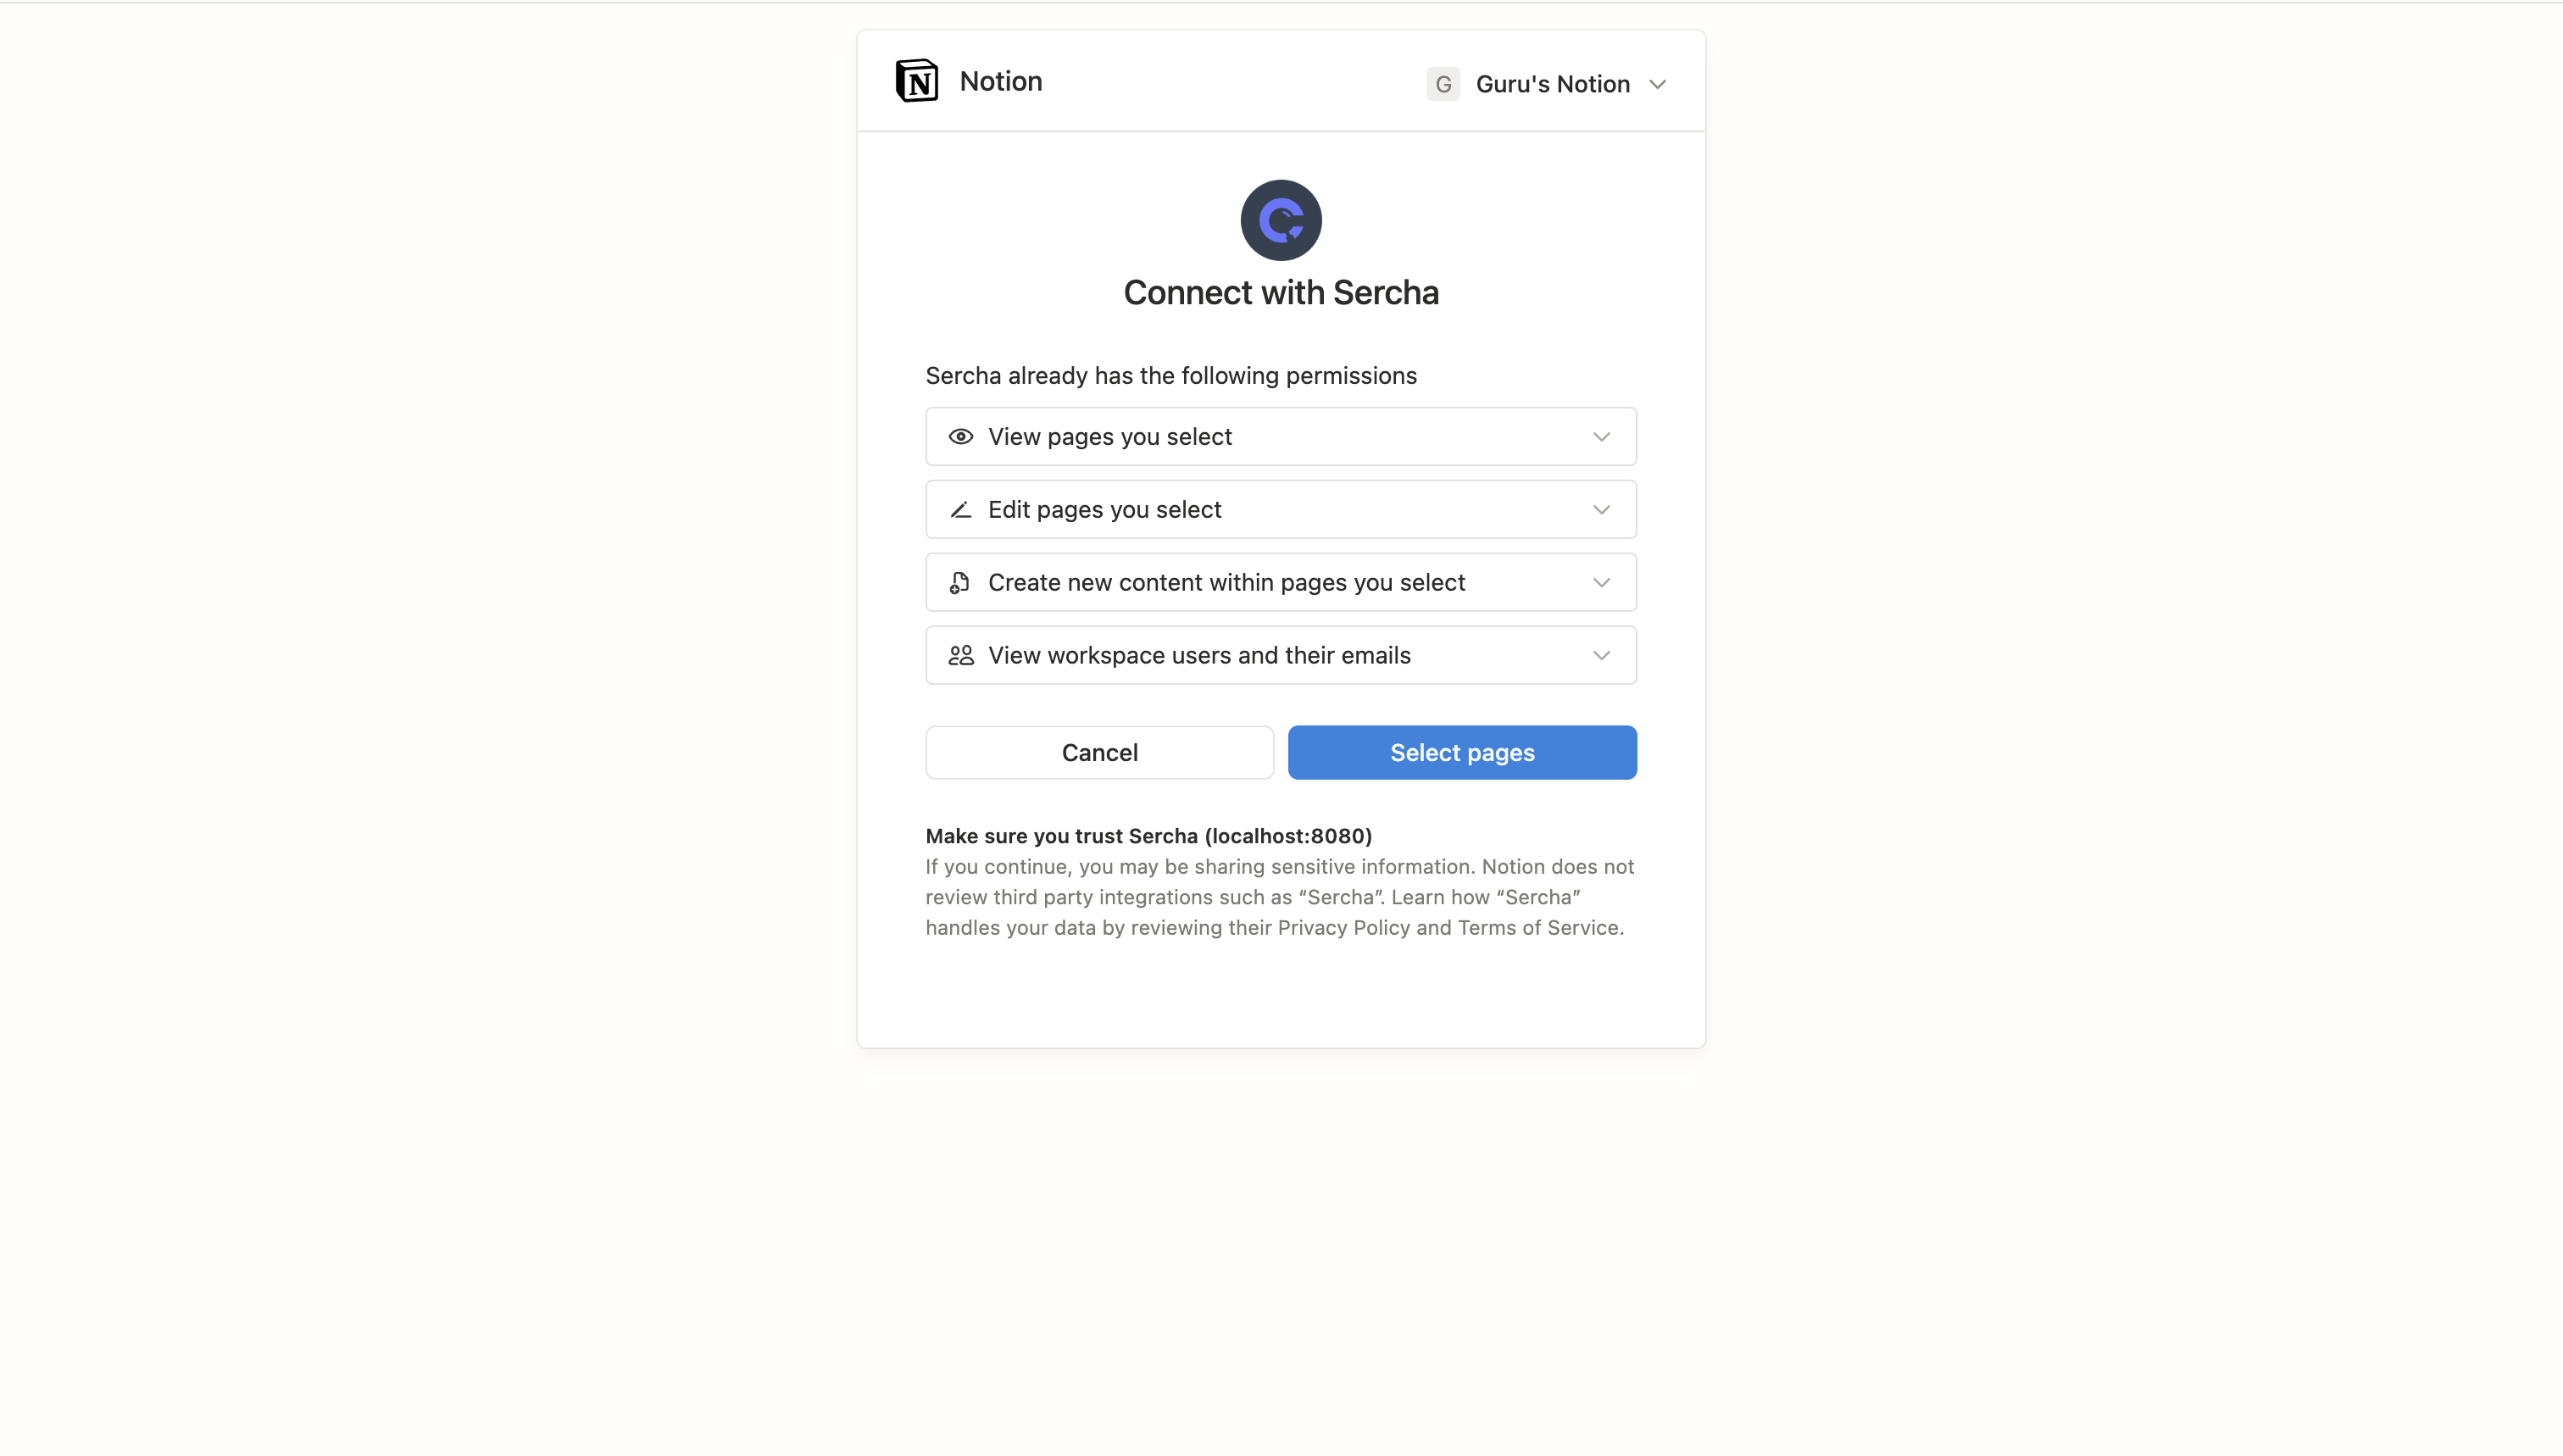
Select the pages and databases you want to make available to Sercha:
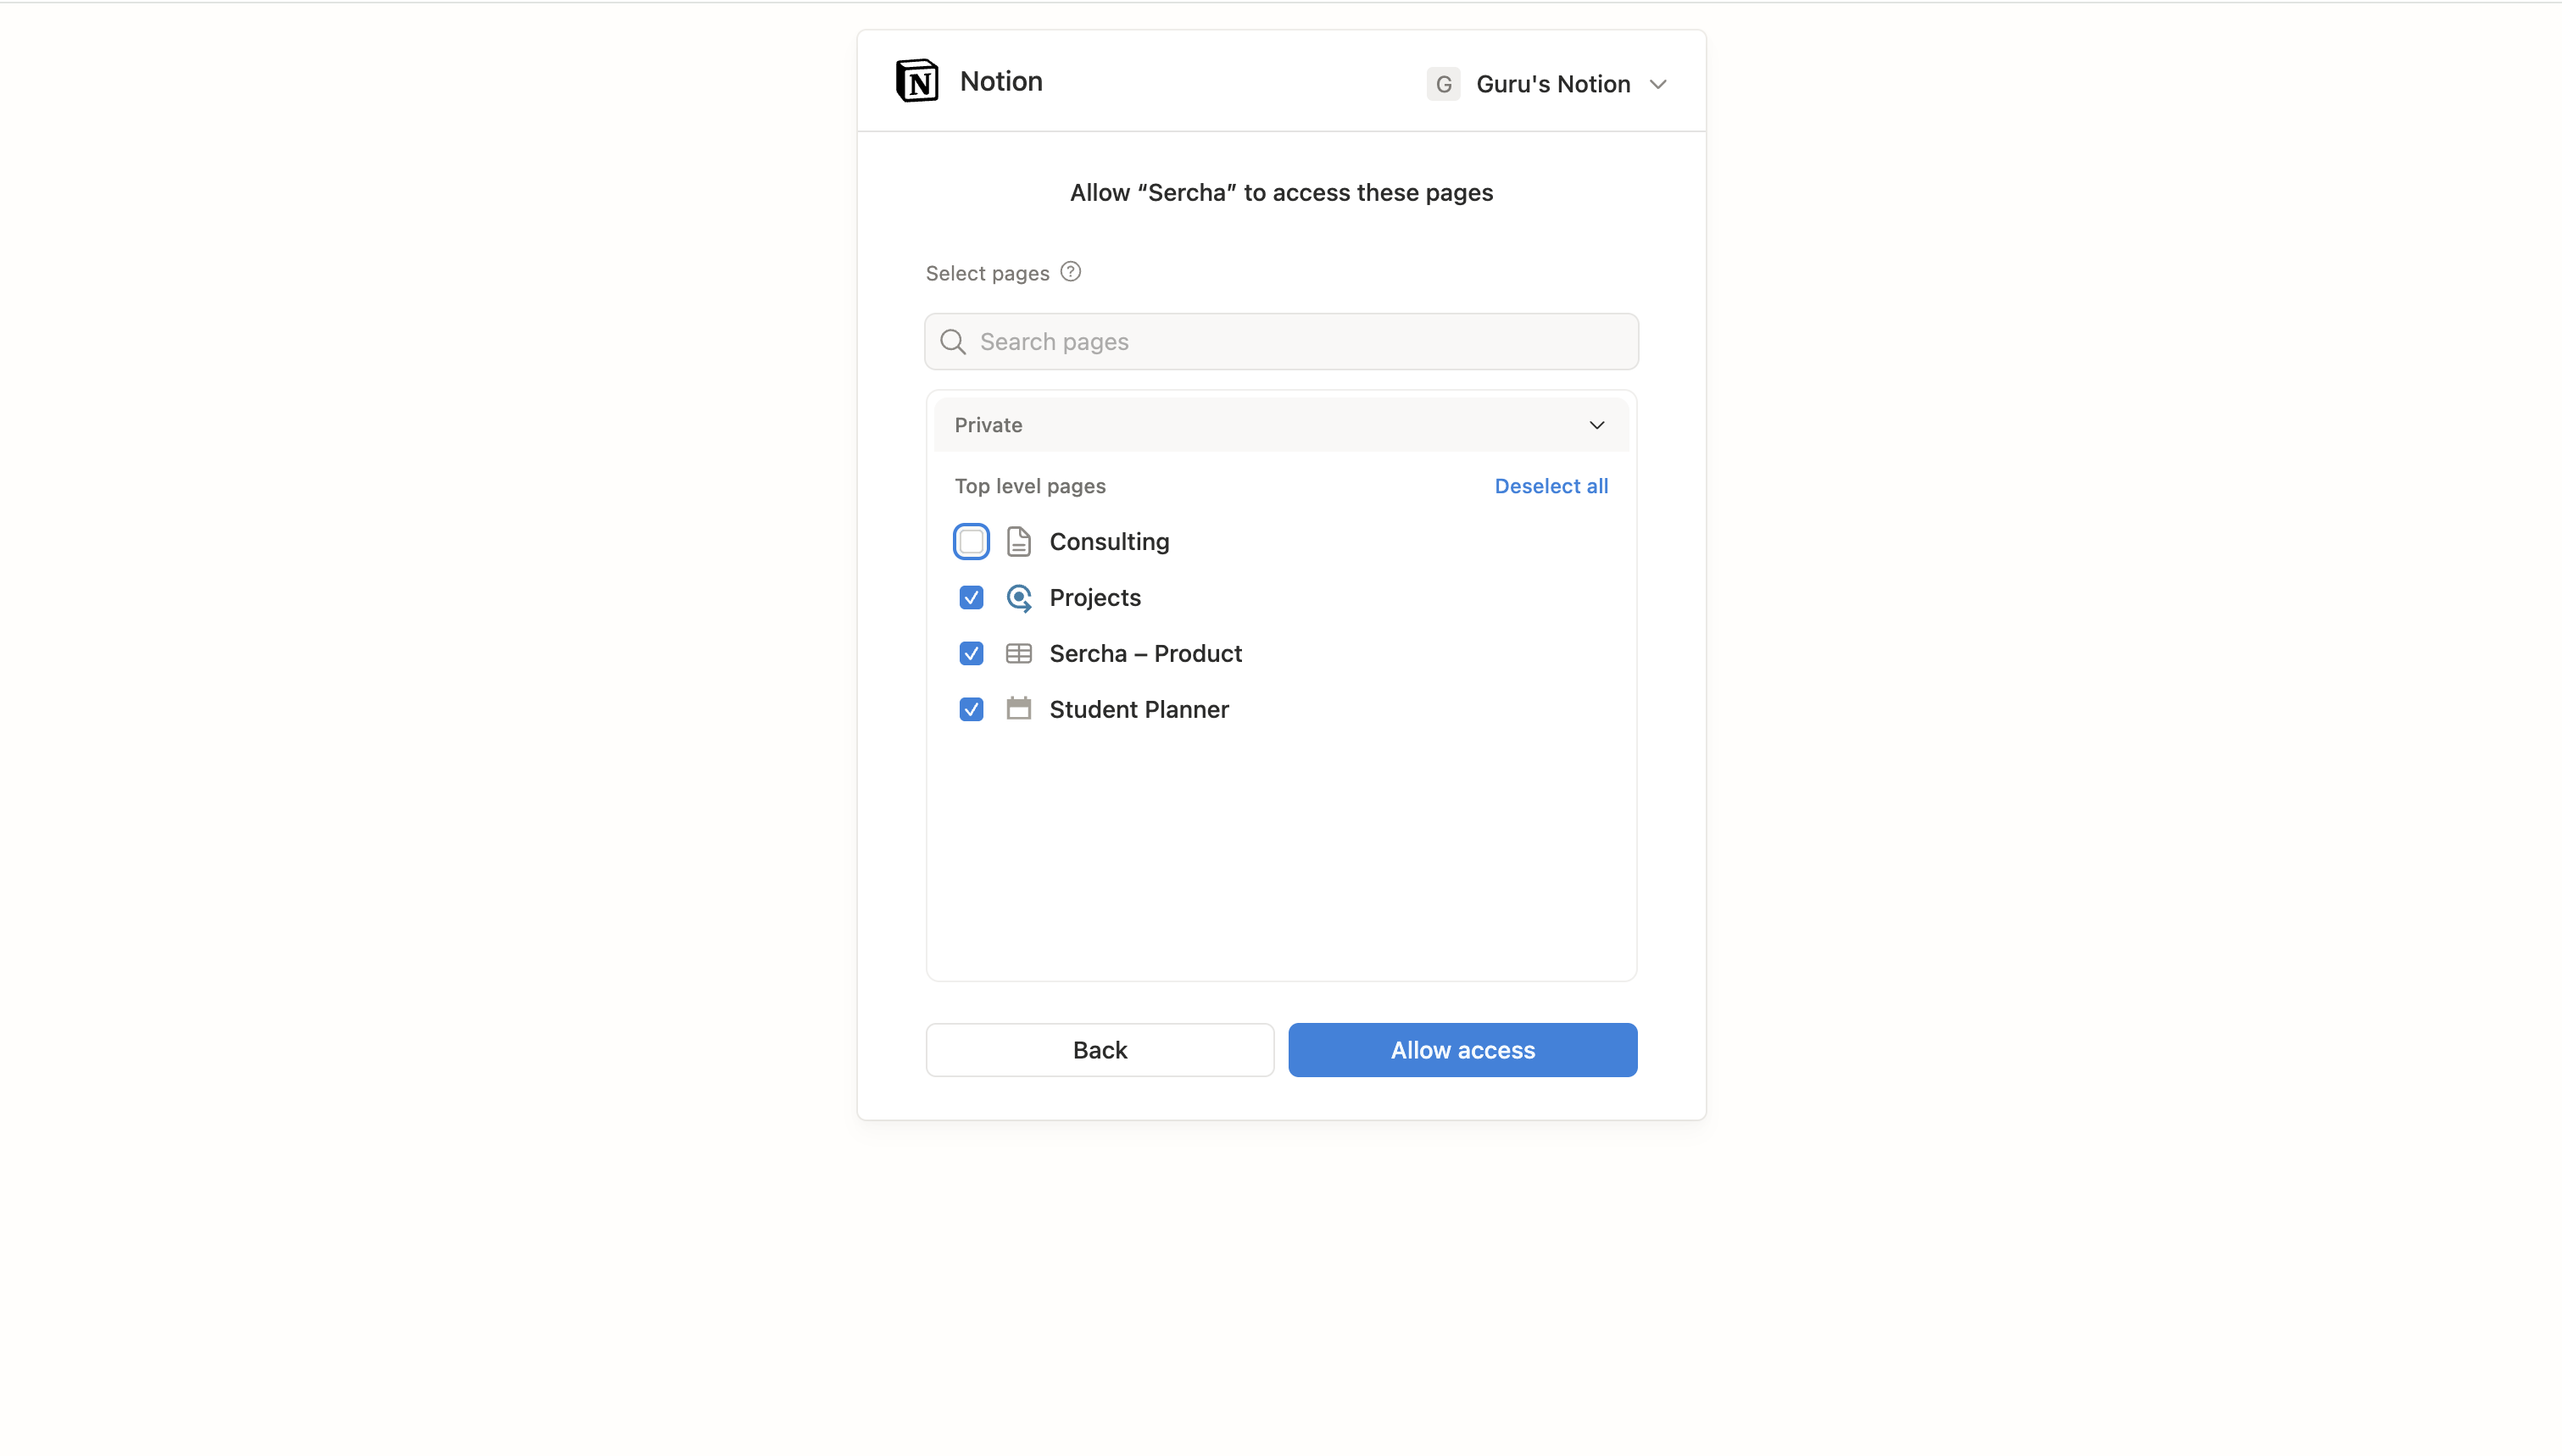
Page selection is fixed at OAuth time. Even with auto-sync enabled, Sercha can only access the pages you select during this consent step. To add new top-level pages later, you'll need to reconnect. However, new child pages within selected pages will be synced automatically.
After authorizing, you'll be redirected back to Sercha.
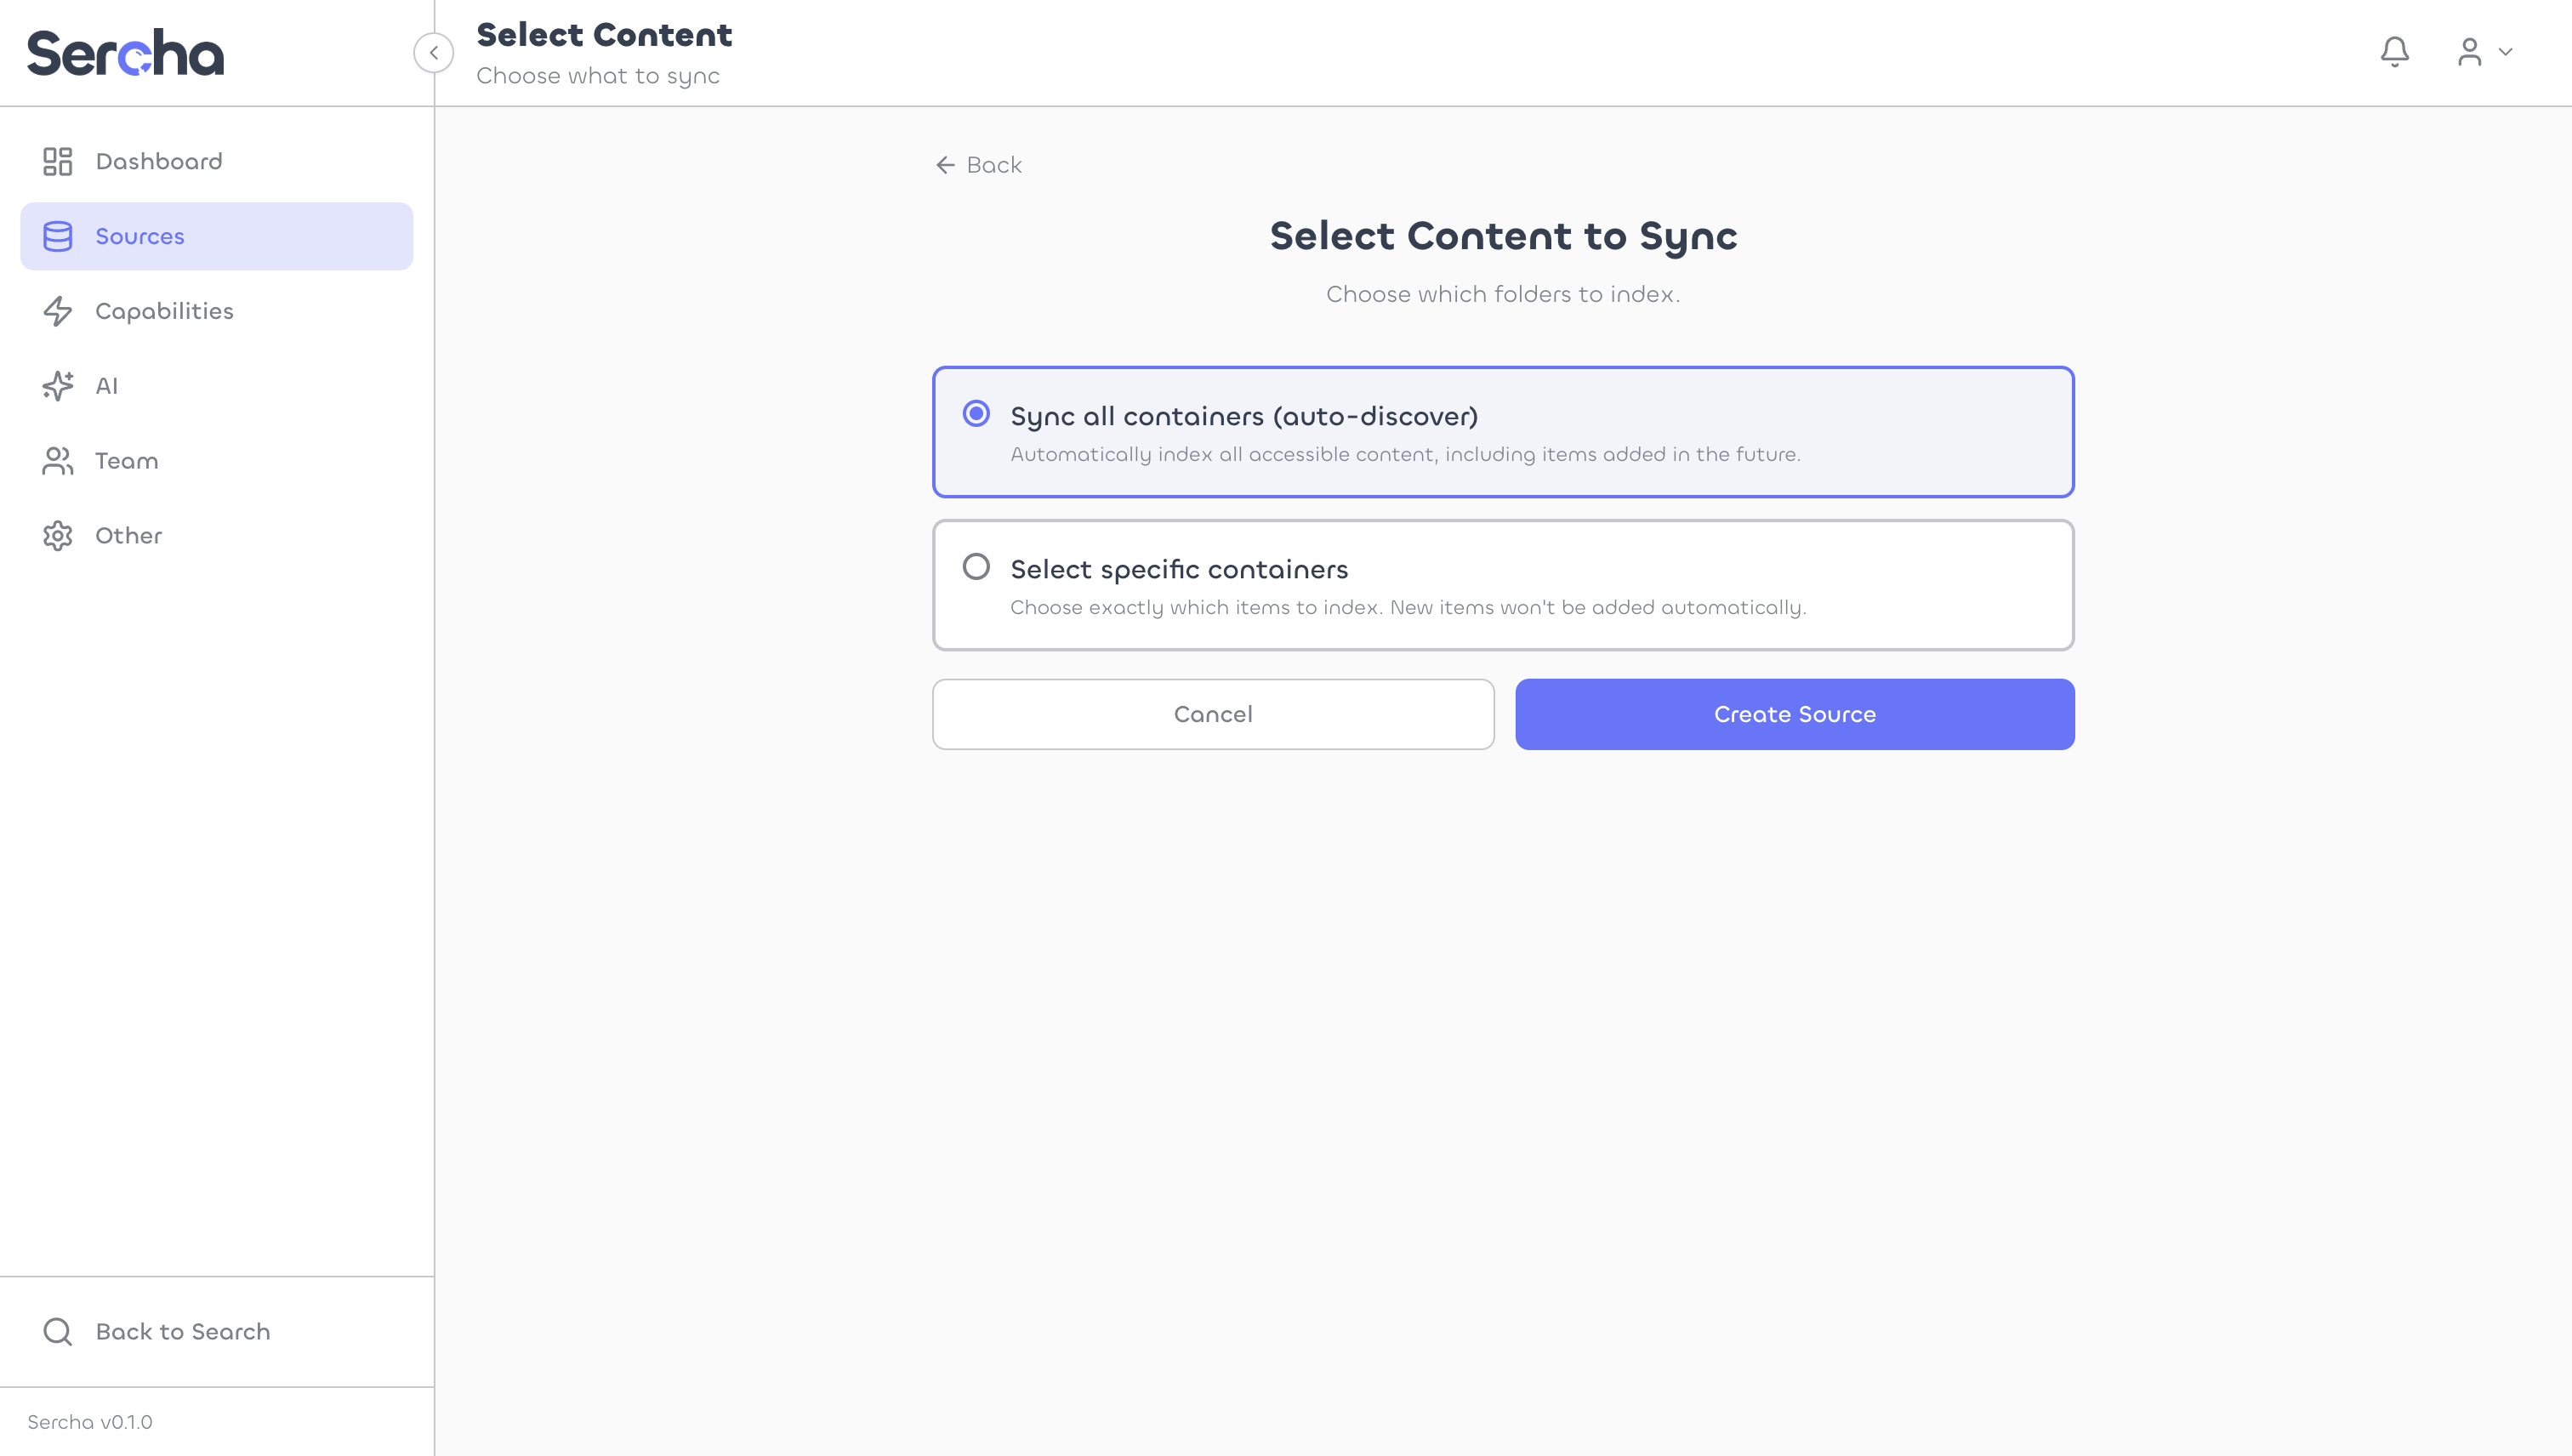
7. Choose sync mode
You can either enable Auto-sync to index all accessible content, or manually select specific containers:
If you choose manual selection, pick the pages and databases you want to index:
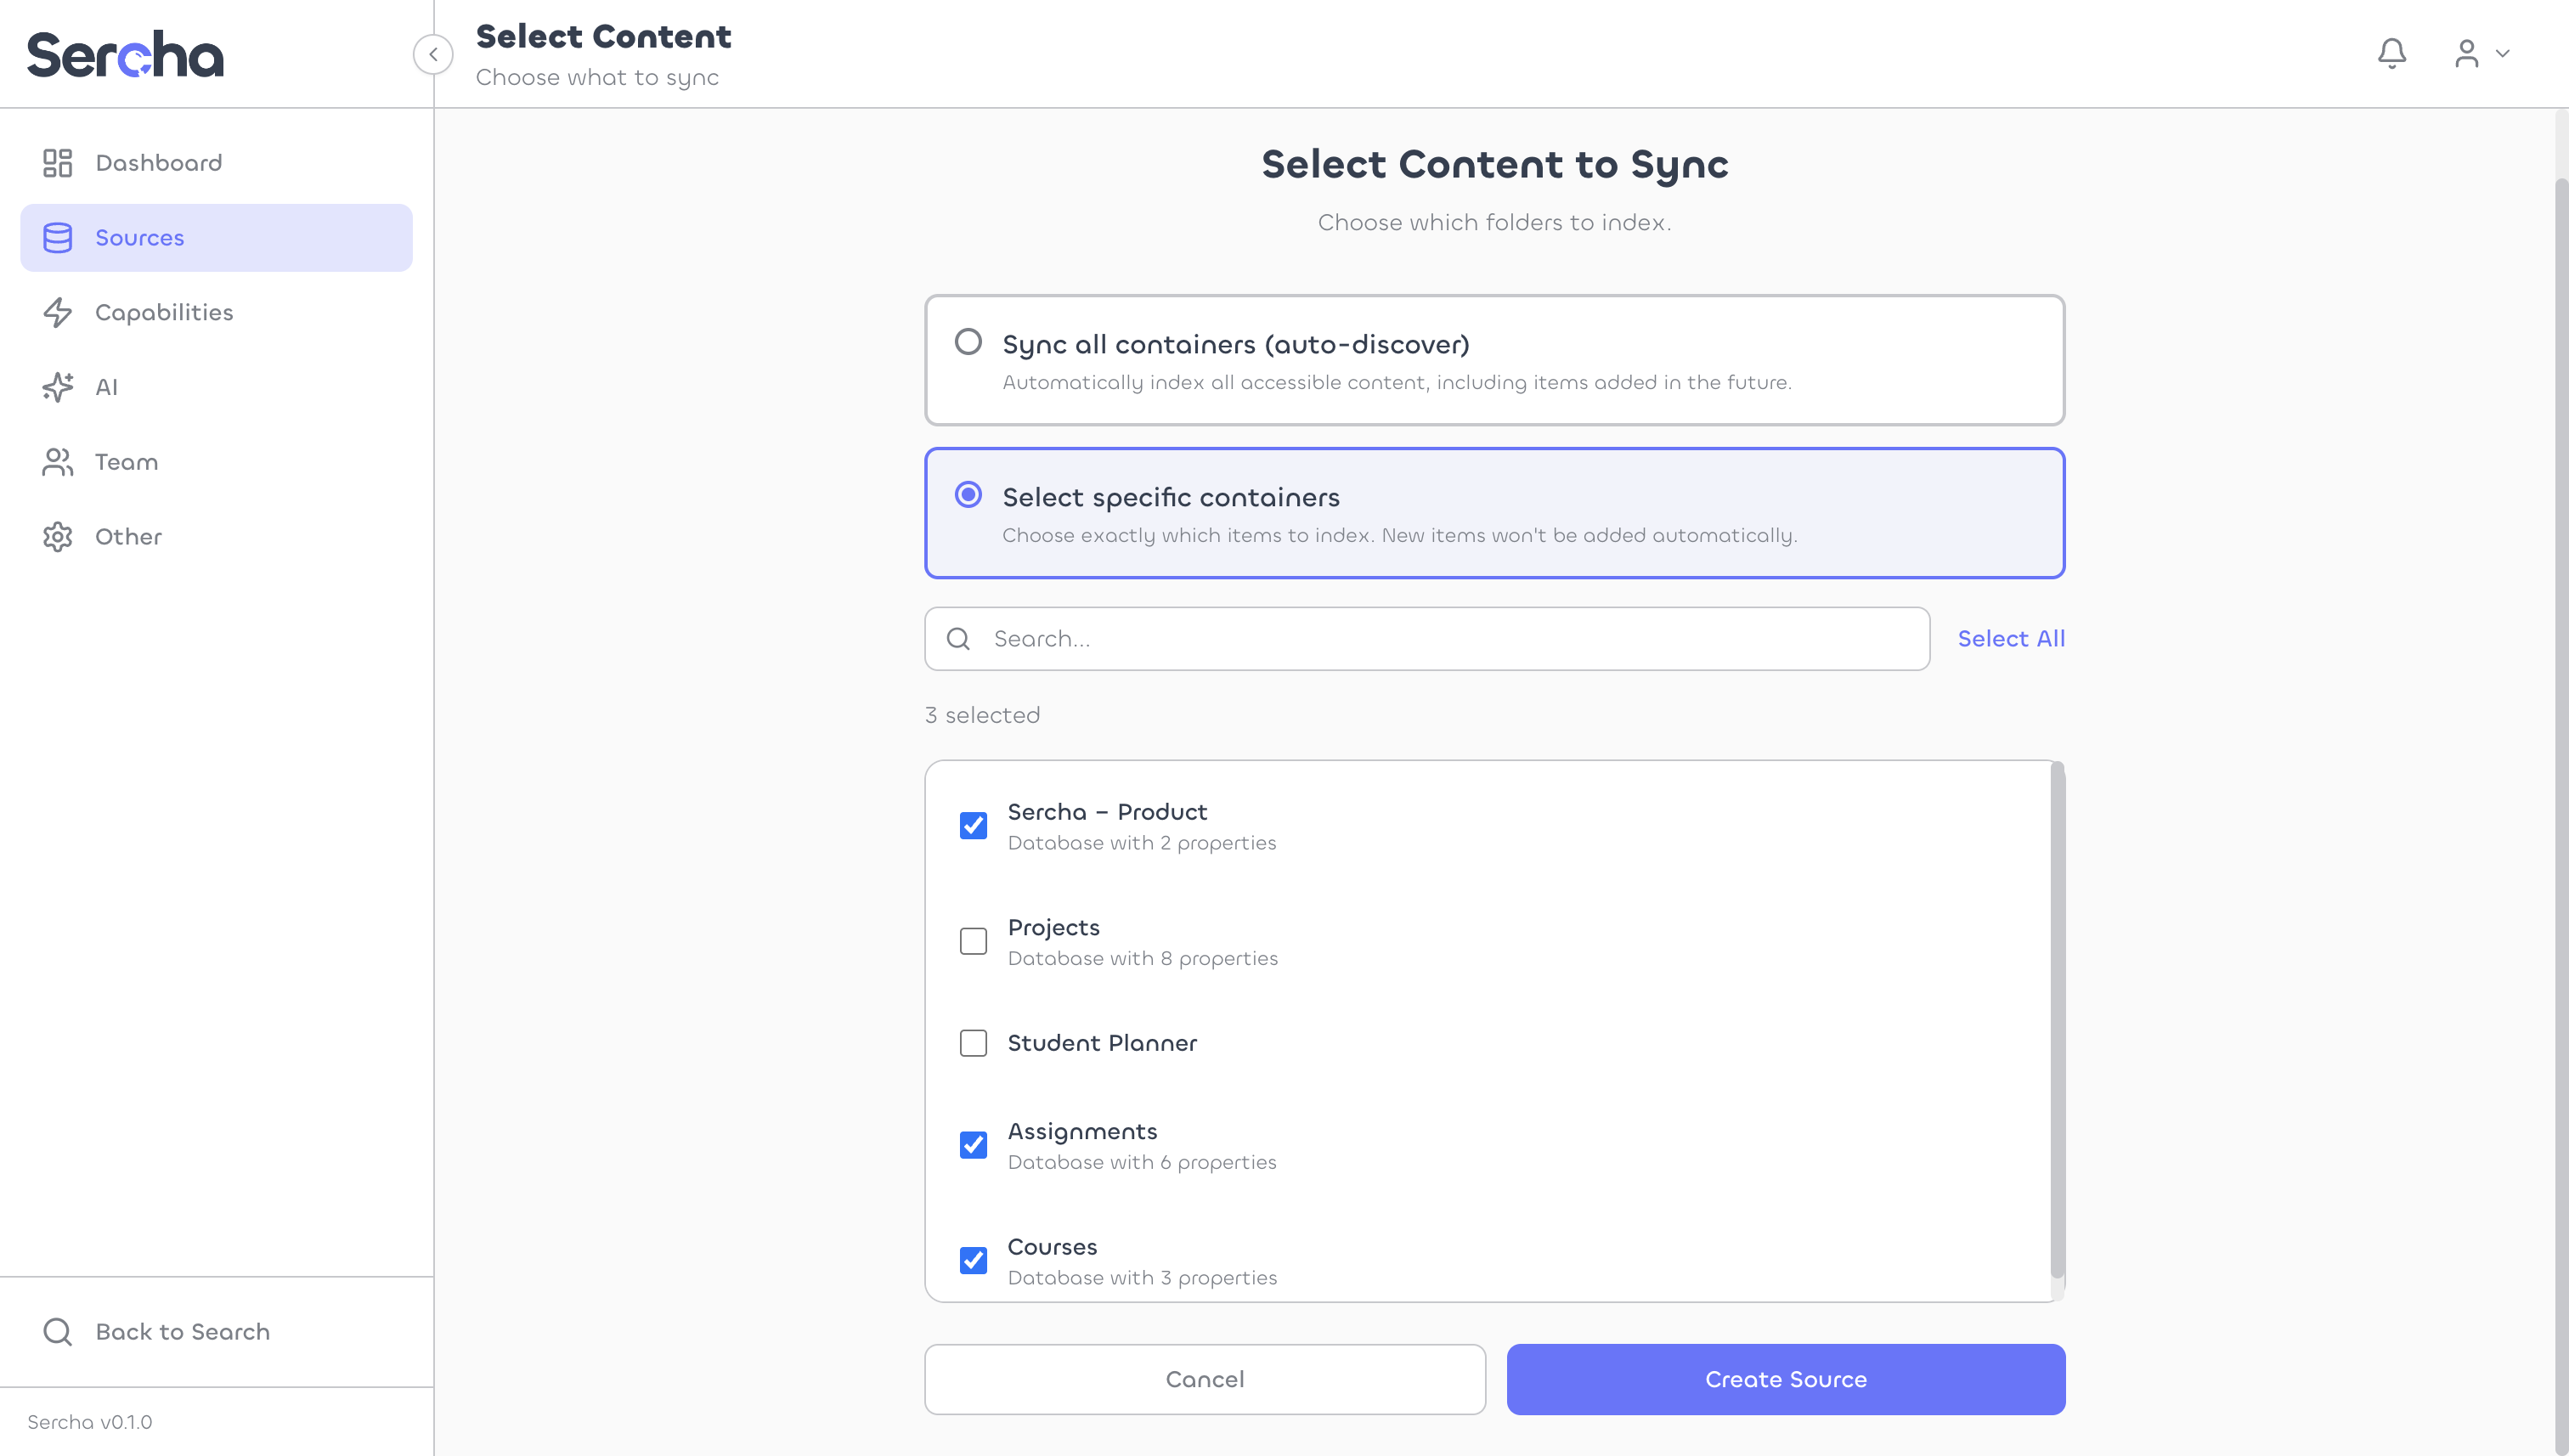
Click Create Source to finish.
8. Trigger a sync
Click into your source, then click Sync Now to start indexing.
Once the sync completes, you'll see the indexed documents listed on the page.
6. Get an auth token
If you haven't set up an account yet, create one via Initial Setup:
curl -X POST http://localhost:8080/api/v1/setup \
  -H "Content-Type: application/json" \
  -d '{
    "email": "admin@example.com",
    "password": "your-password",
    "name": "Admin"
  }'
Then log in to get a Bearer token:
curl -X POST http://localhost:8080/api/v1/auth/login \
  -H "Content-Type: application/json" \
  -d '{
    "email": "admin@example.com",
    "password": "your-password"
  }'
Export the token from the response:
export TOKEN=<paste token here>
7. Connect your Notion account
Start the OAuth flow via Authorize:
curl -X POST http://localhost:8080/api/v1/oauth/notion/authorize \
  -H "Authorization: Bearer $TOKEN"
Open the returned authorization_url in your browser. Notion shows the consent page - review the permissions and select the pages you want to share.
Page selection is fixed at OAuth time. Even with auto-sync enabled, Sercha can only access the pages you select during this consent step. To add new top-level pages later, you'll need to reconnect. However, new child pages within selected pages will be synced automatically.
After authorization, Notion redirects to localhost:8080/api/v1/oauth/callback. The API processes the code exchange and creates a connection.
Verify the connection via List Connections:
curl http://localhost:8080/api/v1/connections \
  -H "Authorization: Bearer $TOKEN"
Save the connection id from the response.
8. Create a source
List available containers for the connection:
curl http://localhost:8080/api/v1/connections/{connection_id}/containers \
  -H "Authorization: Bearer $TOKEN"
Each container represents a page or database. Create a source with the containers you want to index:
curl -X POST http://localhost:8080/api/v1/sources \
  -H "Authorization: Bearer $TOKEN" \
  -H "Content-Type: application/json" \
  -d '{
    "name": "My Notion Workspace",
    "provider_type": "notion",
    "connection_id": "{connection_id}",
    "containers": [
      {"id": "page-uuid", "name": "Project Notes", "type": "page"},
      {"id": "database-uuid", "name": "Task Tracker", "type": "database"}
    ]
  }'
9. Trigger a sync
Trigger a sync to start indexing:
curl -X POST http://localhost:8080/api/v1/sources/{source_id}/sync \
  -H "Authorization: Bearer $TOKEN"
Check sync progress via Sync State:
curl http://localhost:8080/api/v1/sources/{source_id}/sync \
  -H "Authorization: Bearer $TOKEN"
What gets indexed
Permissions
Notion doesn't use traditional OAuth scopes. Instead, permissions are granted at the page and database level during the OAuth consent flow. The integration can only access content you explicitly share with it.
Sync behavior
- Initial sync: Fetches all content from selected pages and databases
- Incremental sync: Detects changes using
last_edited_timetimestamps - Rate limiting: Notion allows 3 requests per second - Sercha handles this automatically
- Nested blocks: Content is extracted up to 10 levels deep
Notion tokens don't expire, so you won't need to re-authenticate unless you revoke the integration's access.