Quickstart
Get Sercha running locally with pre-built Docker images. This guide walks through setup, connecting a GitHub source, syncing content, and running your first search.
This guide uses GitHub as an example connector. After completing setup, you can connect any supported data source - see Connectors for all available options.
Prerequisites - Before you start, make sure you have:
1. Clone the repository
git clone https://github.com/sercha-oss/sercha-core.git
cd sercha-core/examples/quickstart
2. Configure environment variables
Create a .env file in the quickstart directory. Two secrets are required — without them the container will refuse to start:
cat > .env <<EOF
JWT_SECRET=$(openssl rand -hex 32)
MASTER_KEY=$(openssl rand -hex 32)
EOF
Optional variables
Sercha works out of the box with BM25 keyword search. To unlock additional features, add any of the following to your .env file. You can also add them later and restart the containers.
# Optional: enables semantic search (embeddings)
OPENAI_API_KEY=sk-your-openai-api-key

# Optional: enables GitHub connector (this guide uses GitHub as an example)
GITHUB_CLIENT_ID=your_client_id
GITHUB_CLIENT_SECRET=your_client_secret
For the OPENAI_API_KEY, sign up at platform.openai.com. For the GitHub credentials, see the GitHub Connector guide.
3. Start the services
docker compose --profile ui up -d
Wait about 60 seconds for OpenSearch to initialize. Check status:
docker compose --profile ui ps
All services should show healthy.
The --profile ui flag includes the Admin UI. Without it, only the API starts on port 8080.
4. Set up your account
- Admin UI
- API
Open http://localhost:3000 in your browser. On first visit, you'll see the login screen. Click Configure Sercha at the bottom to start the setup wizard.
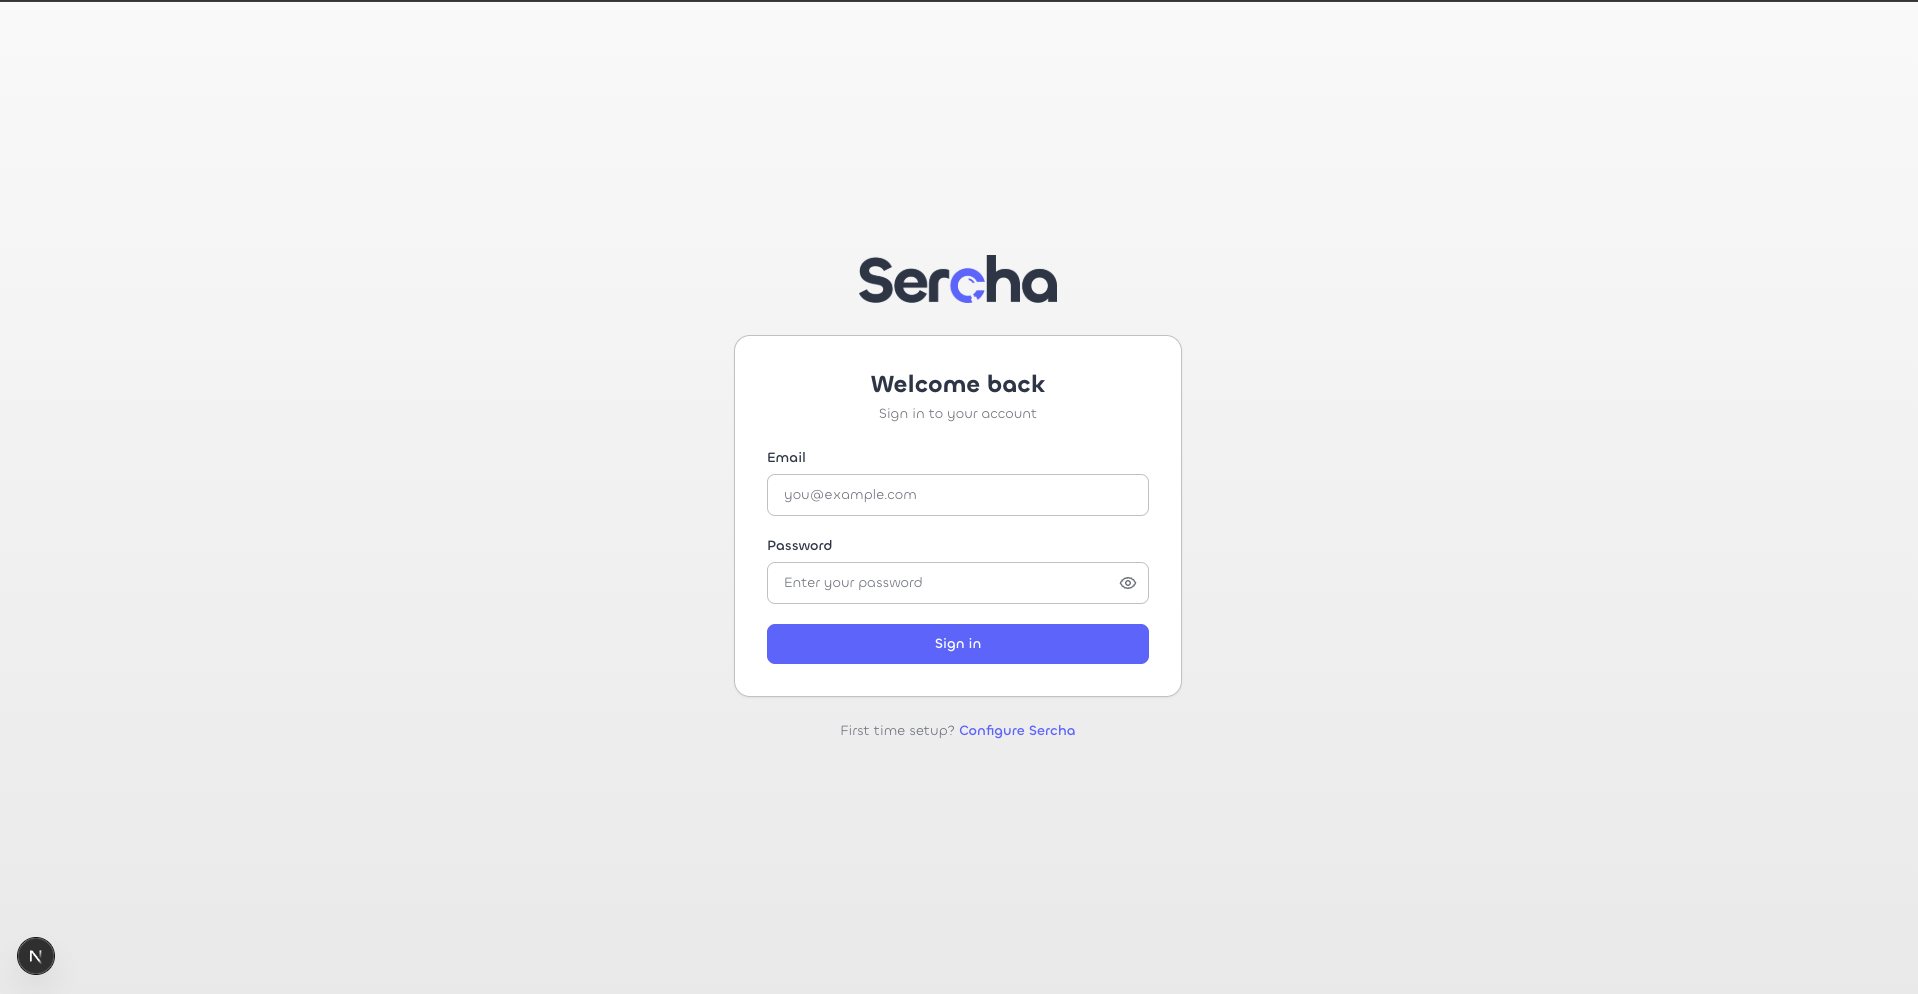
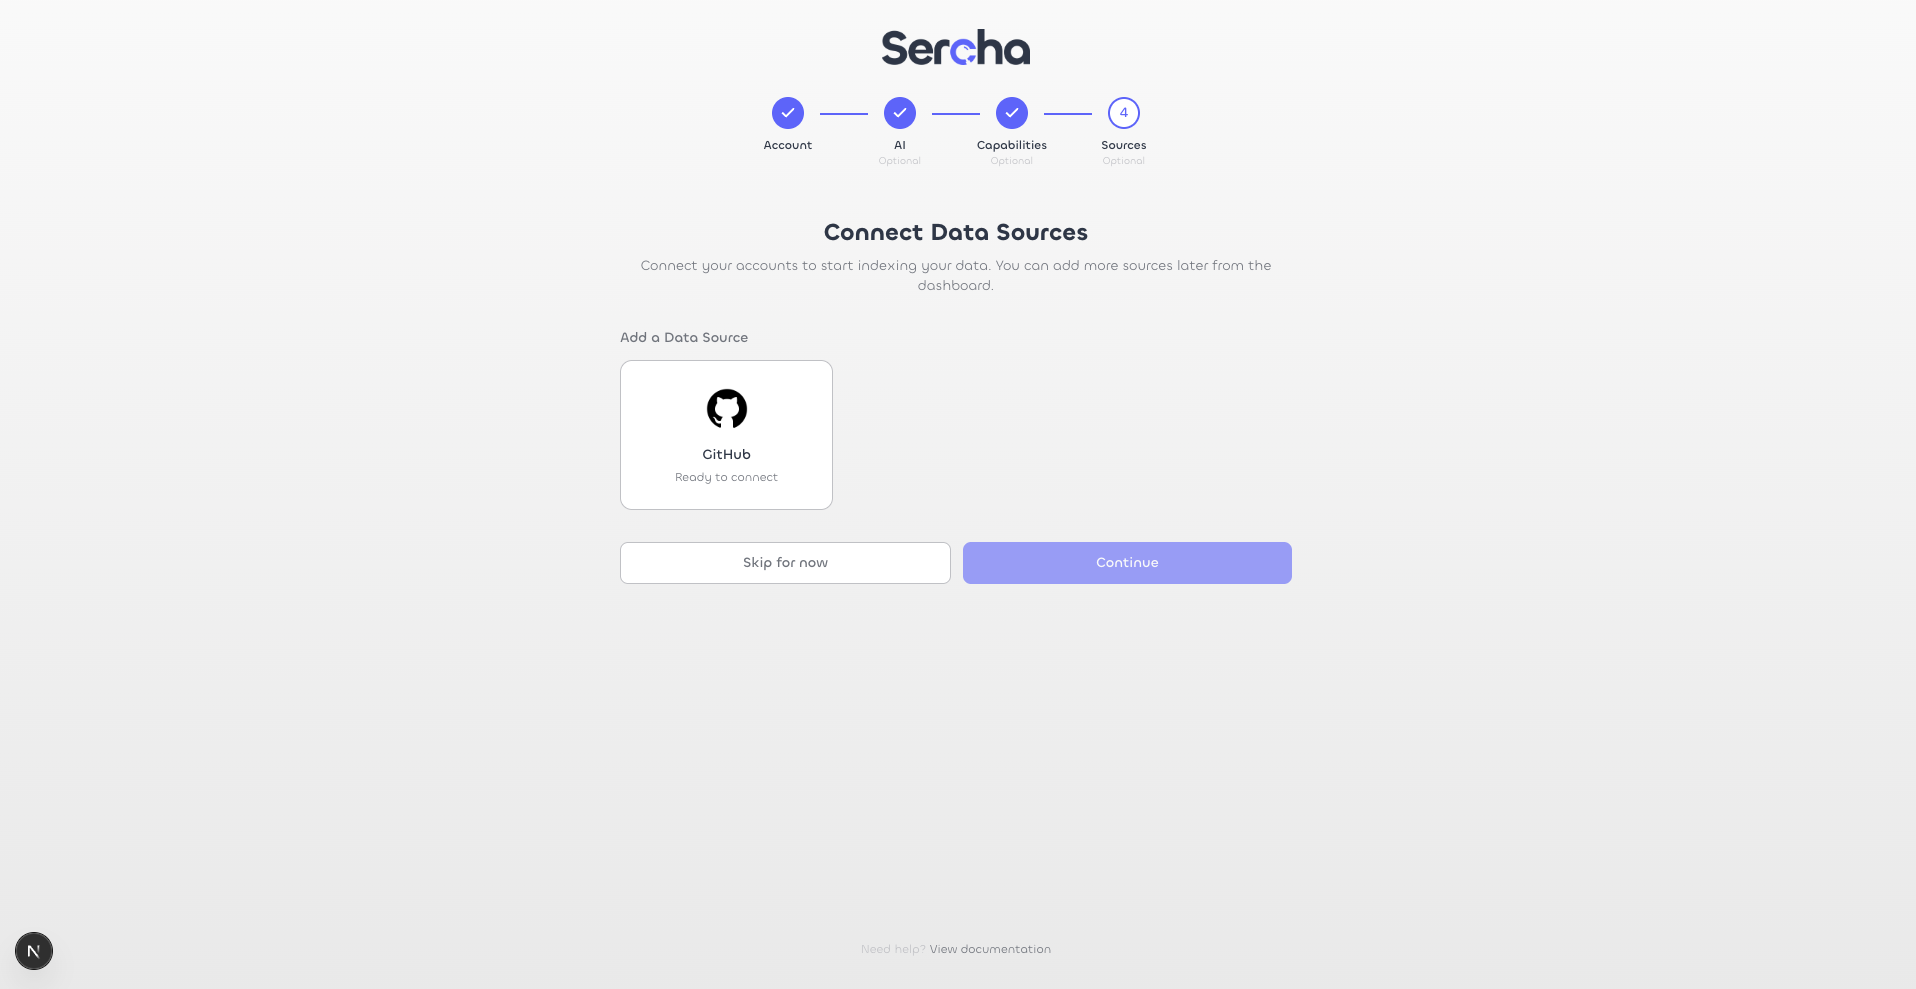
The setup wizard has 4 steps: Account, AI (optional), Capabilities (optional), and Sources (optional).
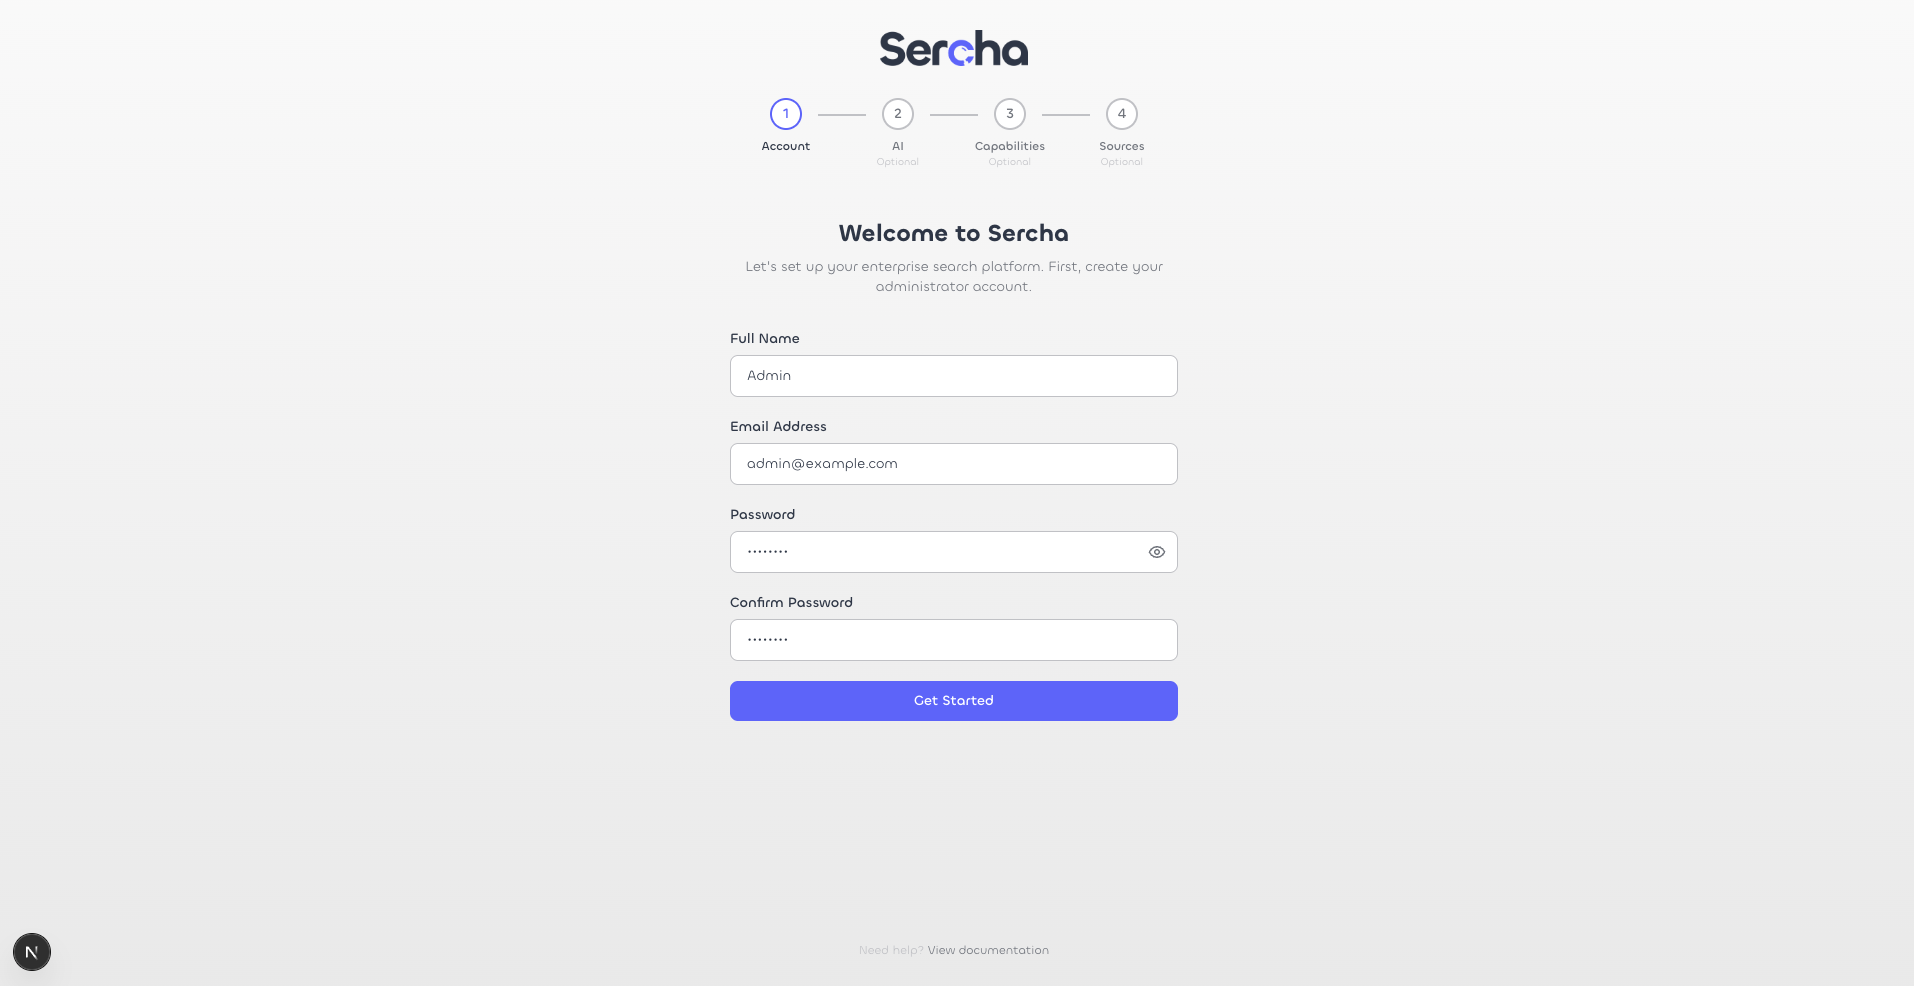
Create your admin account
Fill in your name, email, and password, then click Get Started.
Configure AI (optional)
If you set OPENAI_API_KEY in step 2, this screen lets you configure the embedding model for semantic search. Select OpenAI as the provider and Text Embedding 3 Small (1536d) as the model. Click Test Connection to verify, then Save & Continue.
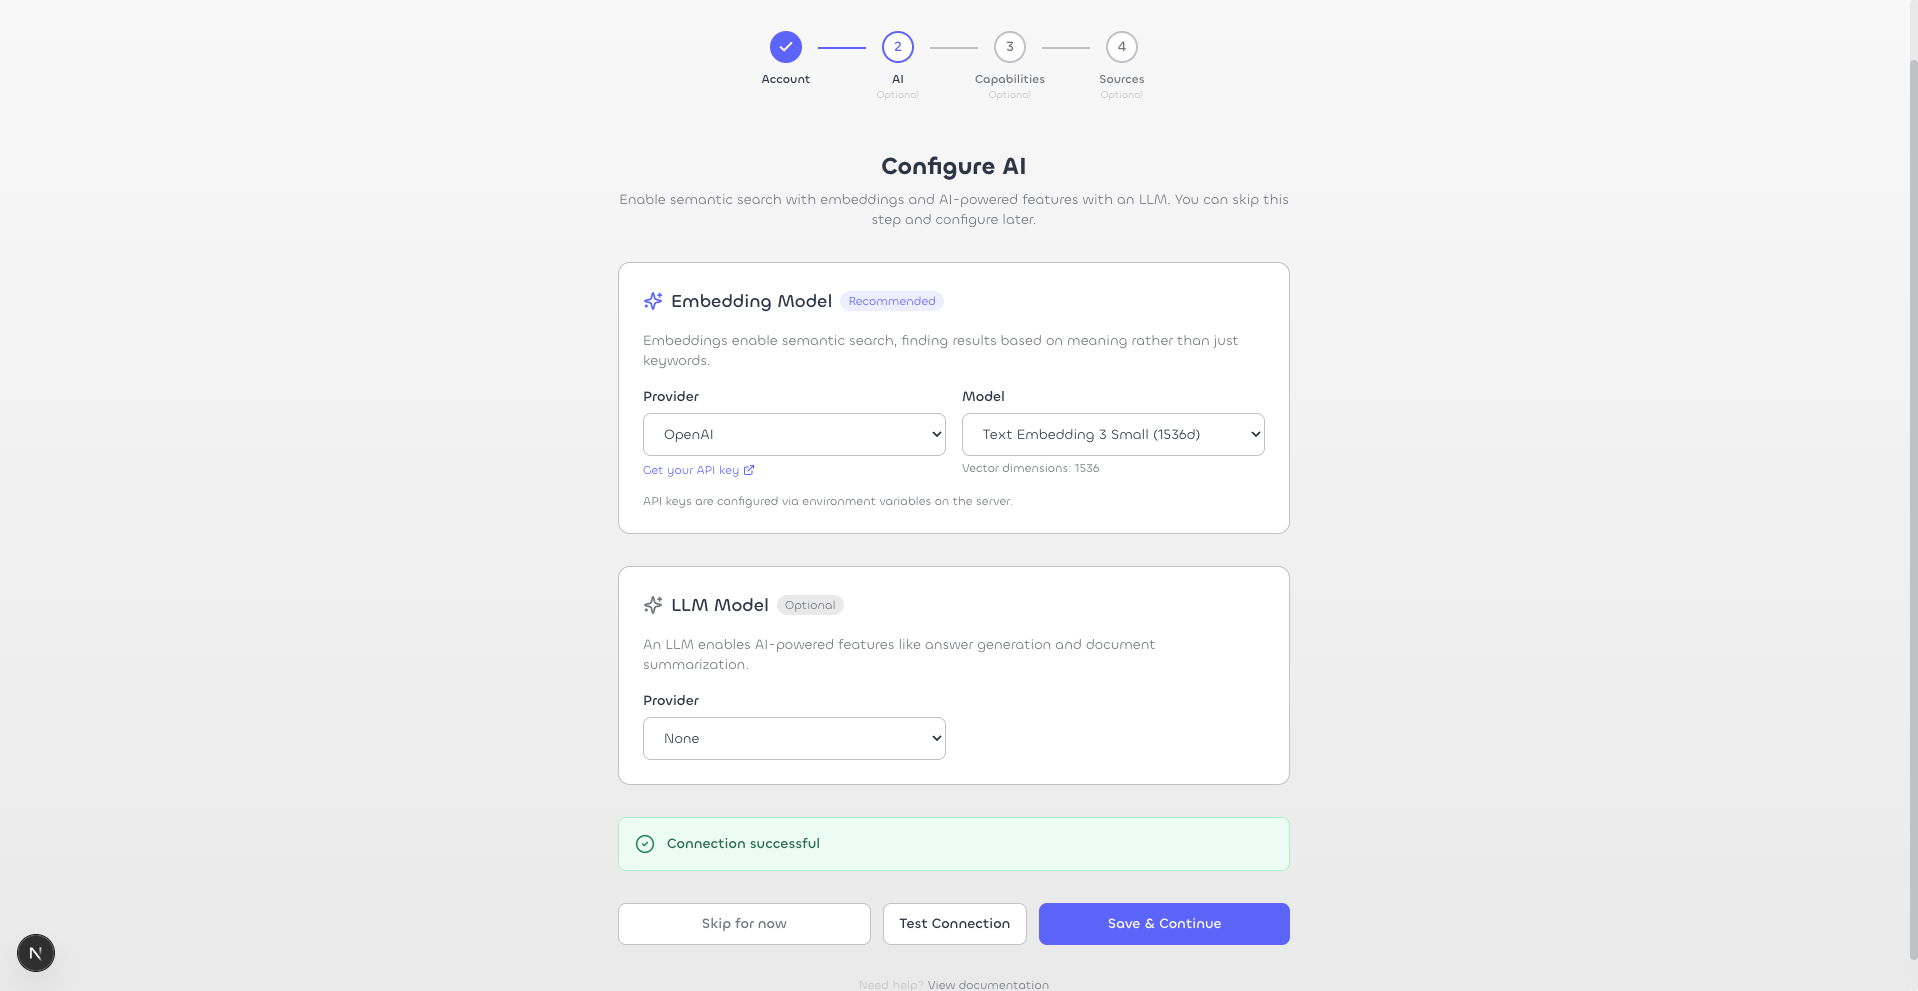
No API key? If you didn't set OPENAI_API_KEY before starting the containers, the connection test will fail. You can skip this step and add it later - just set the env var and restart the containers with docker compose --profile ui restart sercha.
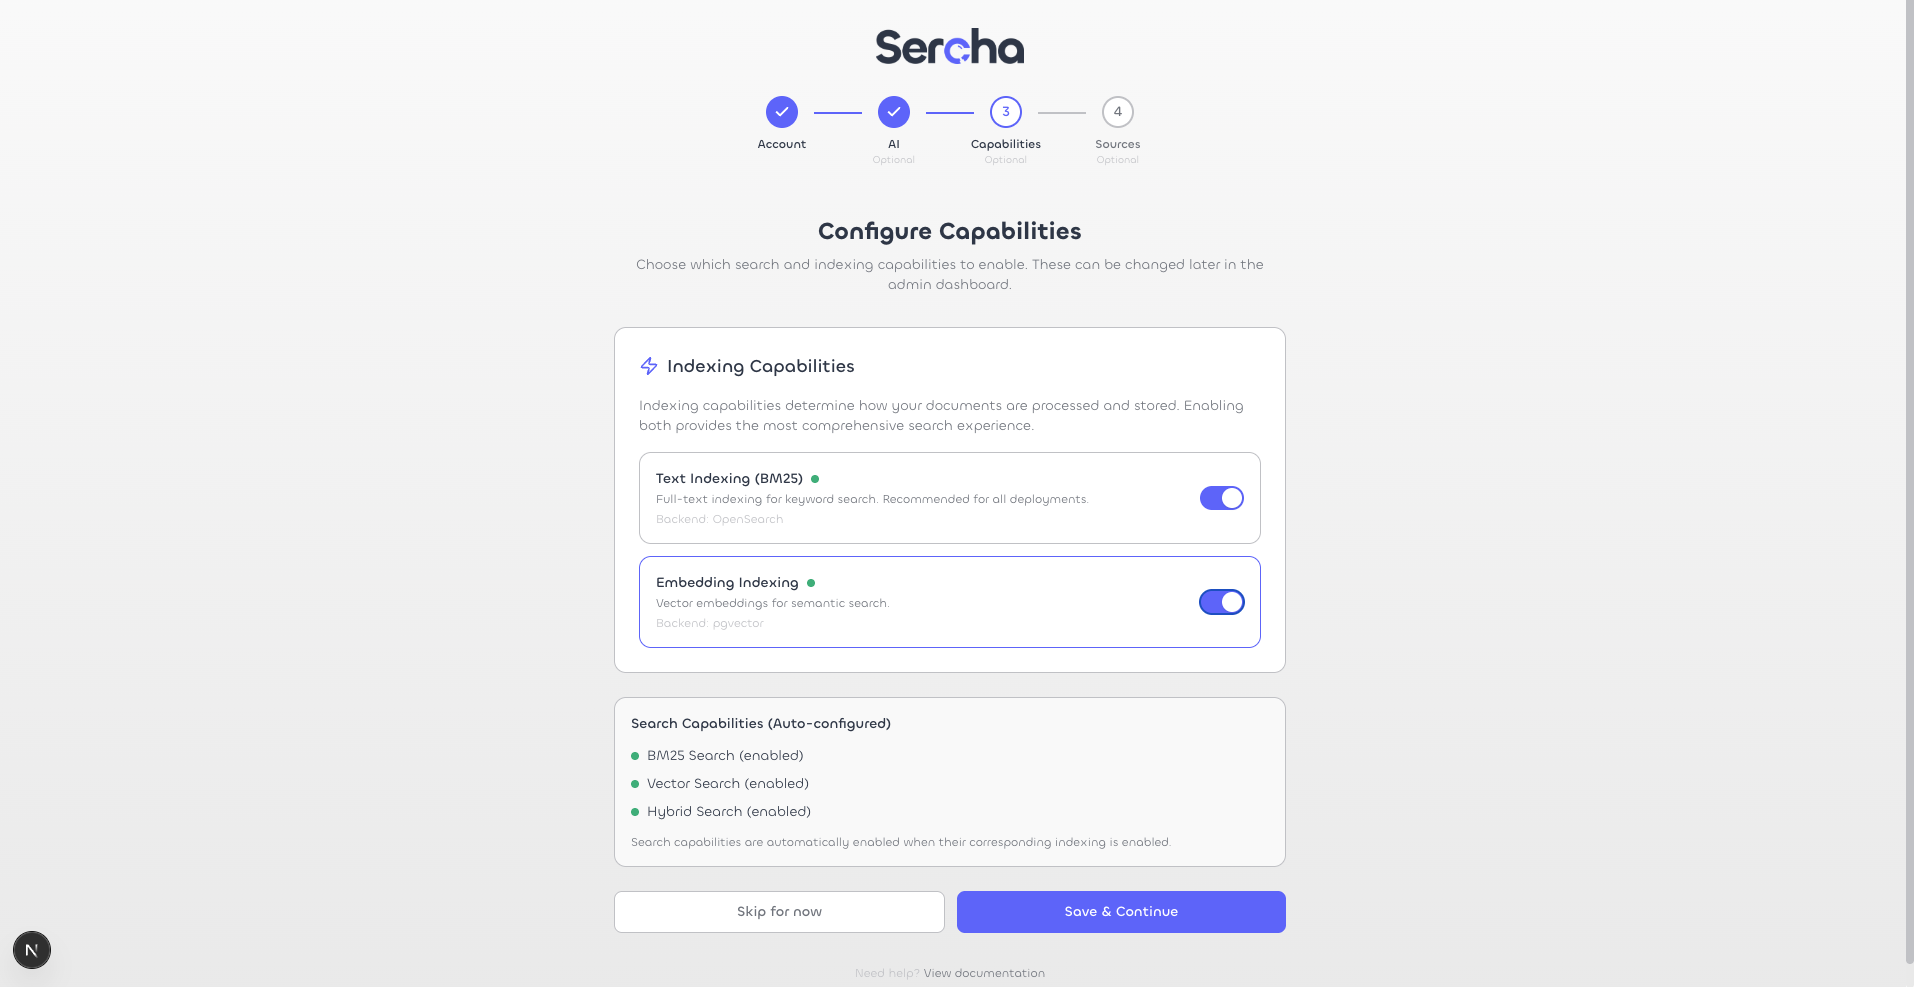
Configure Capabilities
This screen lets you enable indexing and search capabilities. Text Indexing (BM25) is enabled by default. If you configured an embedding model in the previous step, toggle on Embedding Indexing to enable semantic and hybrid search.
Skip adding sources
The final setup step offers to connect data sources. Click Skip for now - we'll connect a source separately.
Dashboard
After completing setup, you may be redirected to the login screen. Sign in with the account you just created.
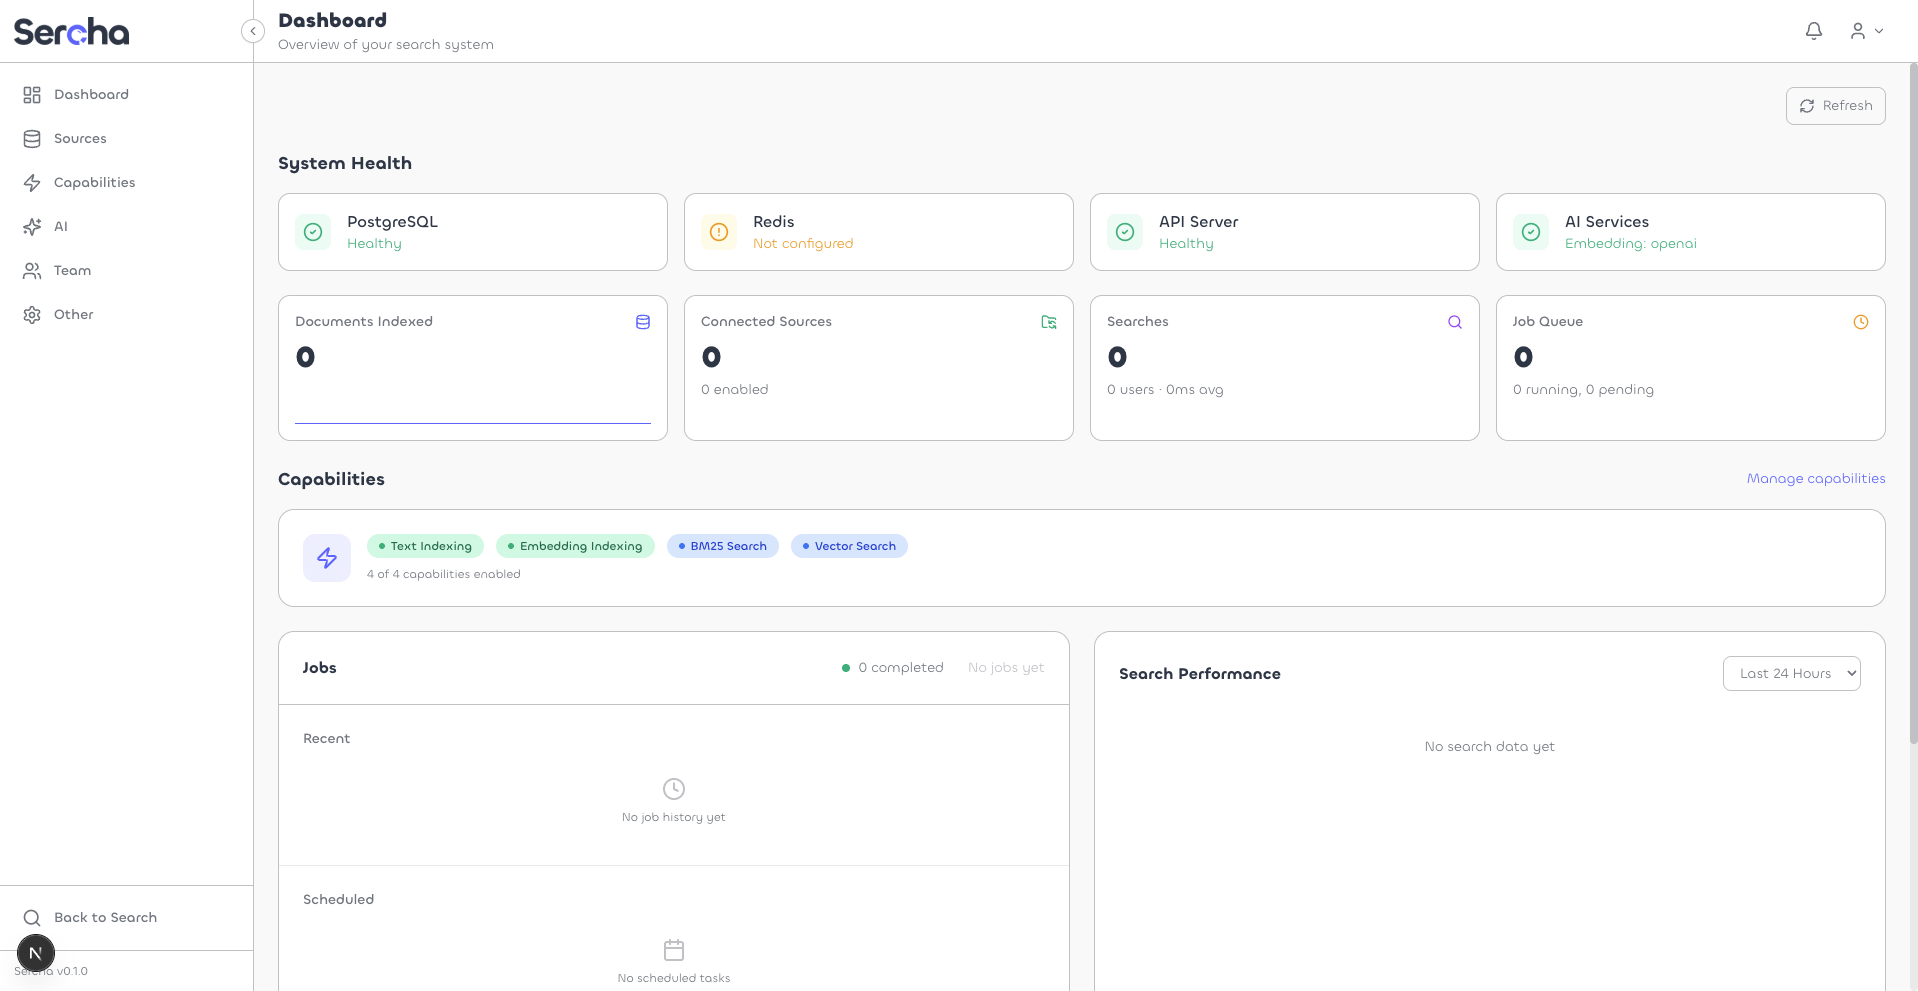
The API is available at http://localhost:8080.
Create your admin account
Create an account via the setup endpoint:
curl -X POST http://localhost:8080/api/v1/setup \
  -H "Content-Type: application/json" \
  -d '{
    "email": "admin@example.com",
    "password": "your-password",
    "name": "Admin"
  }'
Log in
Log in to get a Bearer token:
curl -X POST http://localhost:8080/api/v1/auth/login \
  -H "Content-Type: application/json" \
  -d '{
    "email": "admin@example.com",
    "password": "your-password"
  }'
Export the token from the response:
export TOKEN=<paste token here>
Verify the system
Check that the API is running:
curl http://localhost:8080/api/v1/providers \
  -H "Authorization: Bearer $TOKEN"
5. Connect GitHub and sync
Sercha is running but has no content yet. Let's connect a GitHub source and index some repositories.
For the full guide with additional details, see the GitHub Connector page.
Create a GitHub OAuth App
Go to Register a new OAuth application on GitHub and fill in the form:
| Field | Value |
|---|---|
| Application name | Sercha (or any name you like) |
| Homepage URL | http://localhost:3000 |
| Authorization callback URL | http://localhost:8080/api/v1/oauth/callback |
Leave Enable Device Flow unchecked, then click Register application.
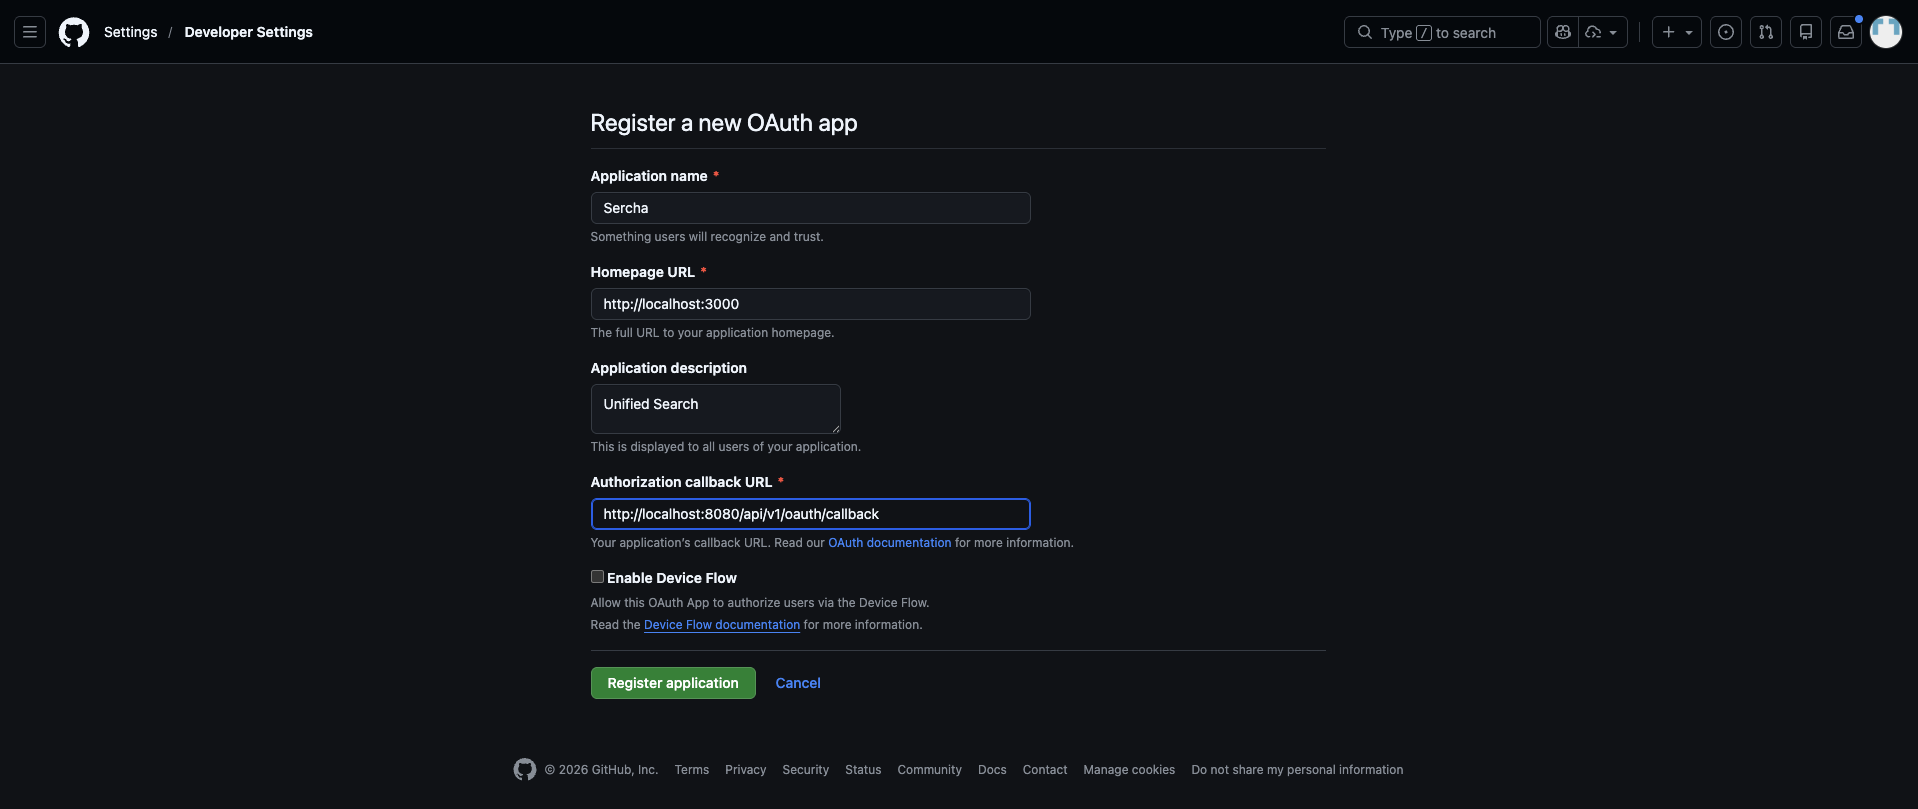
After registering, copy the Client ID, then click Generate a new client secret and copy it immediately - GitHub only shows it once.
Add credentials and restart
If you didn't already add these in step 2, add them to your .env file:
GITHUB_CLIENT_ID=your_client_id
GITHUB_CLIENT_SECRET=your_client_secret
Restart the backend so it picks up the new credentials:
docker compose --profile ui restart sercha
- Admin UI
- API
Connect your GitHub account
Open http://localhost:3000/admin/sources. Click Connect on the GitHub row.
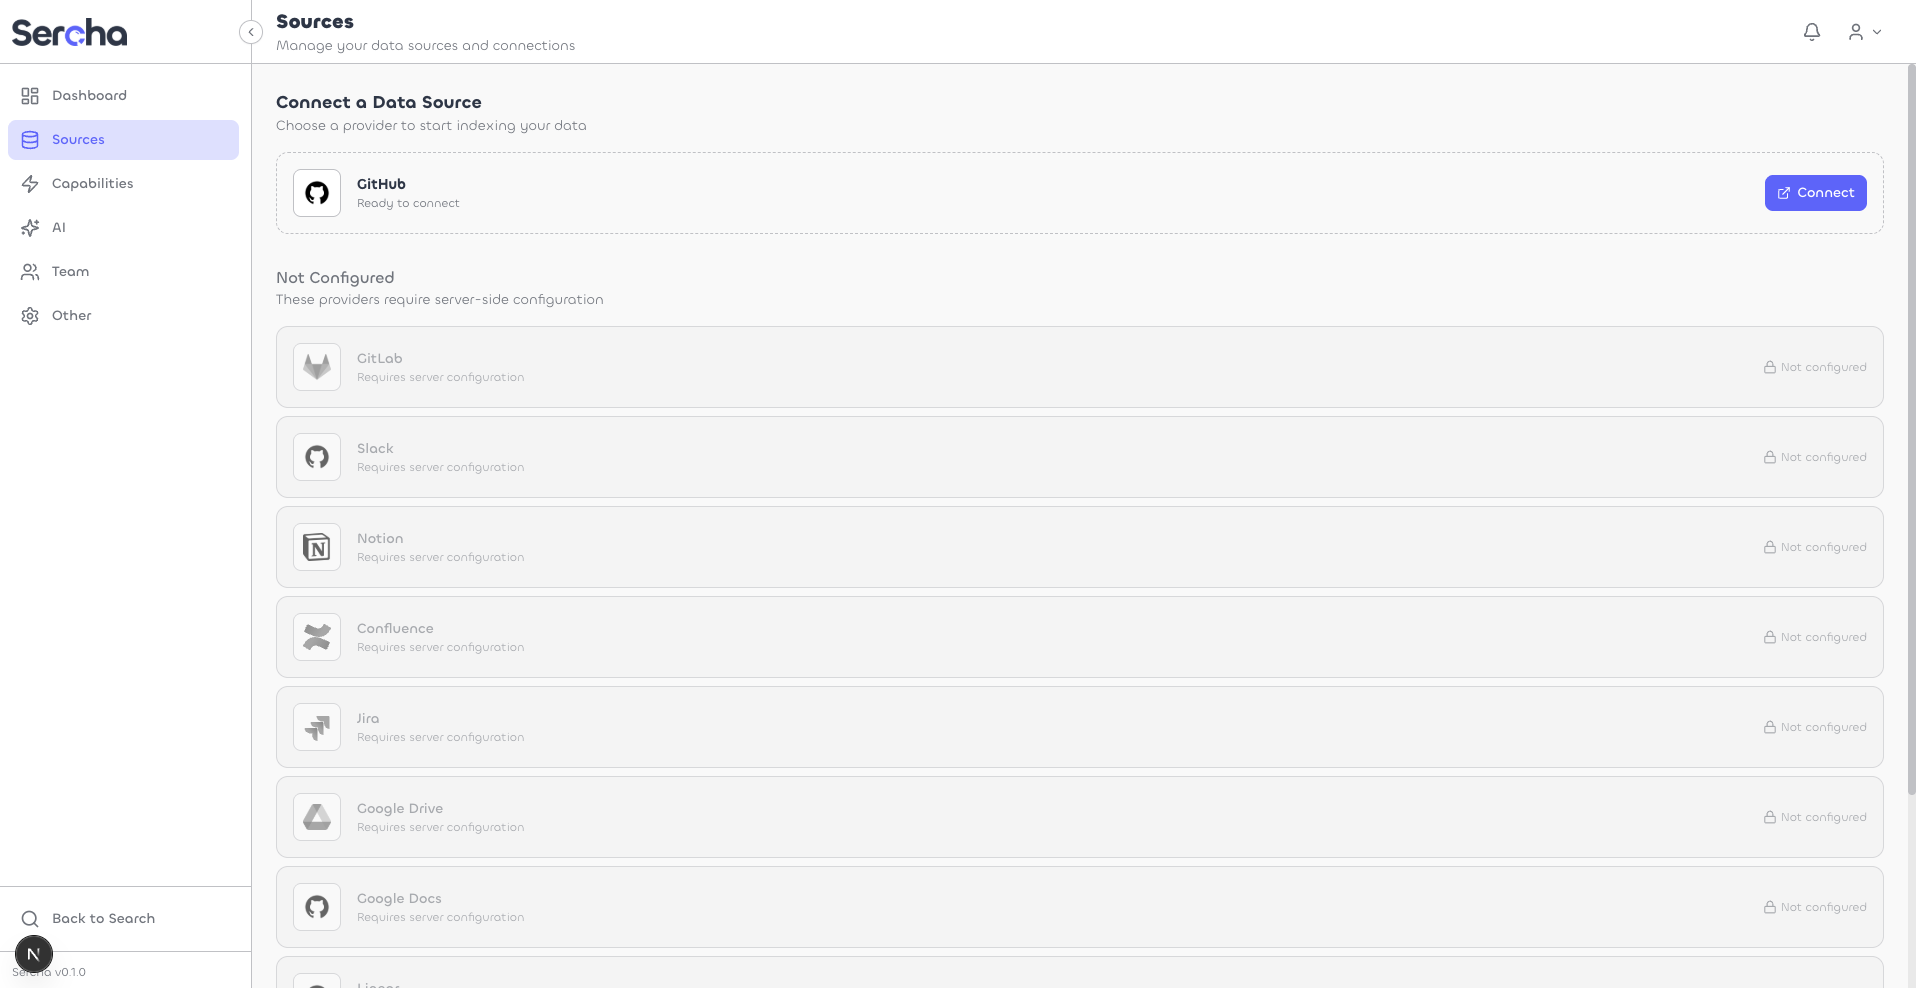
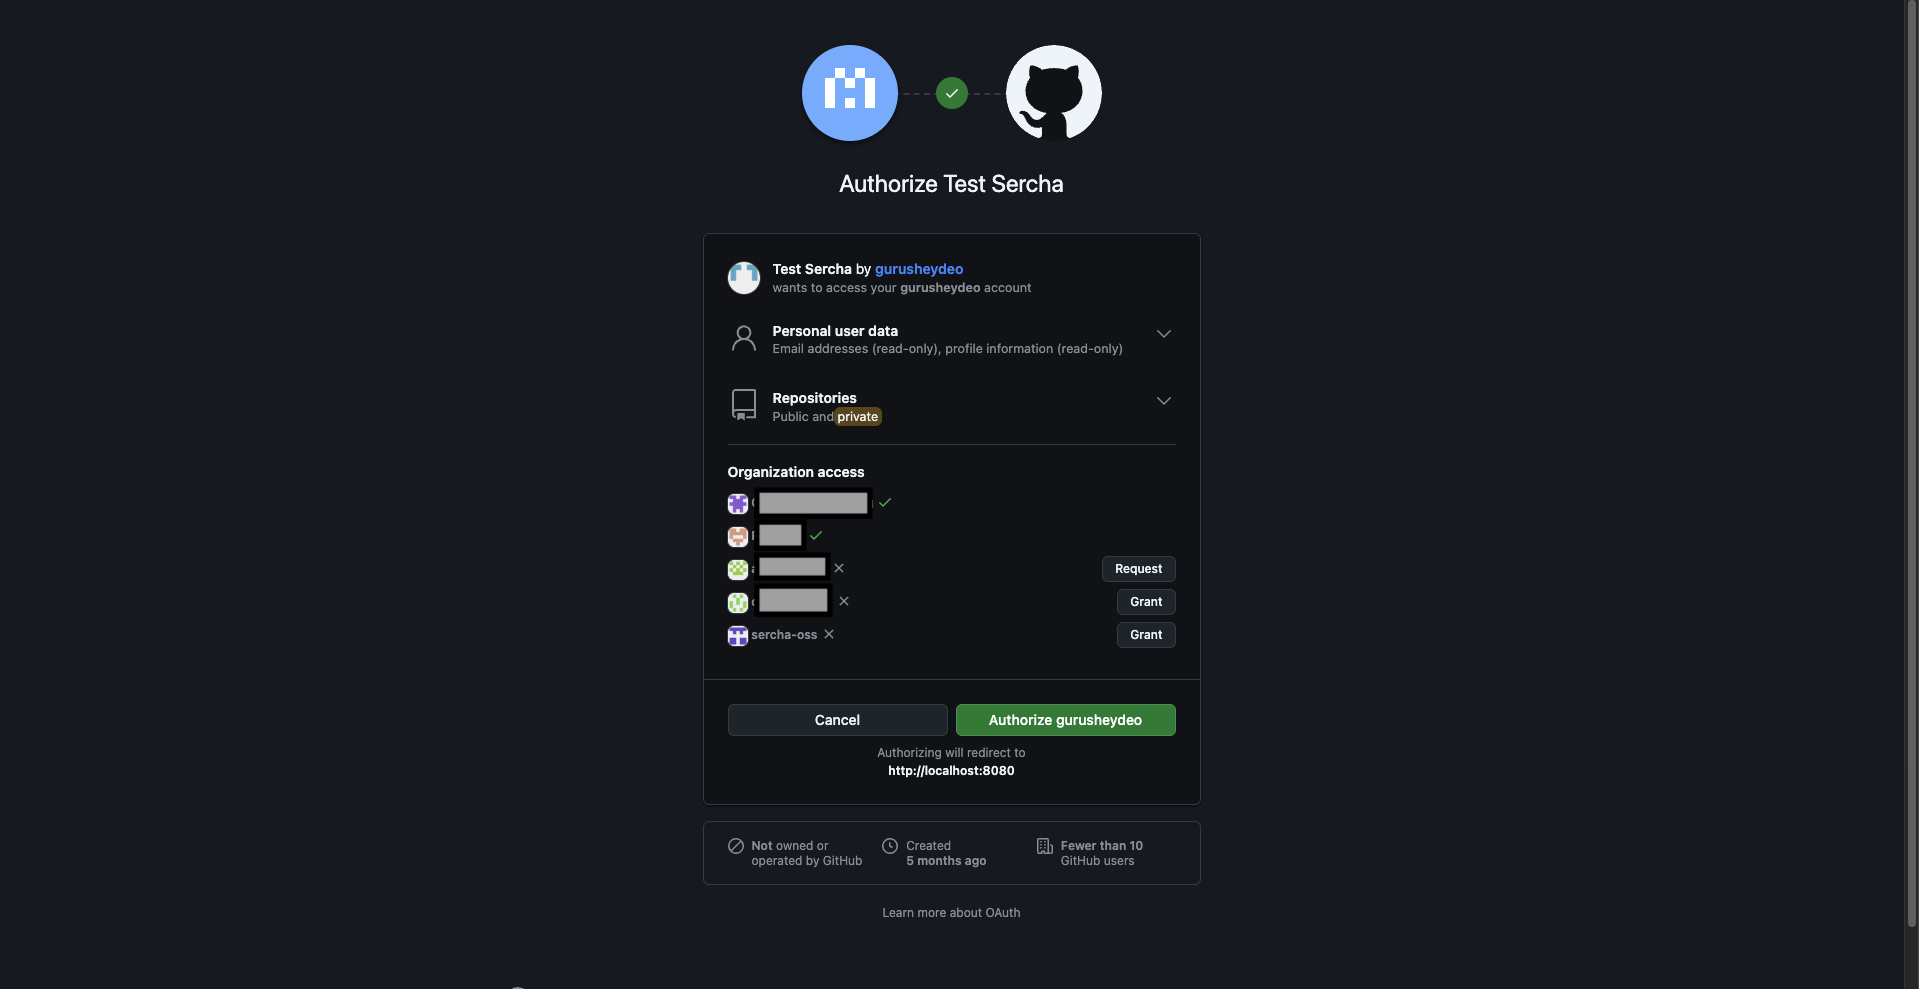
GitHub's consent page opens. Review the permissions and click Authorize. If you belong to any organizations, click Grant next to them to index their repositories.
Select repositories and sync
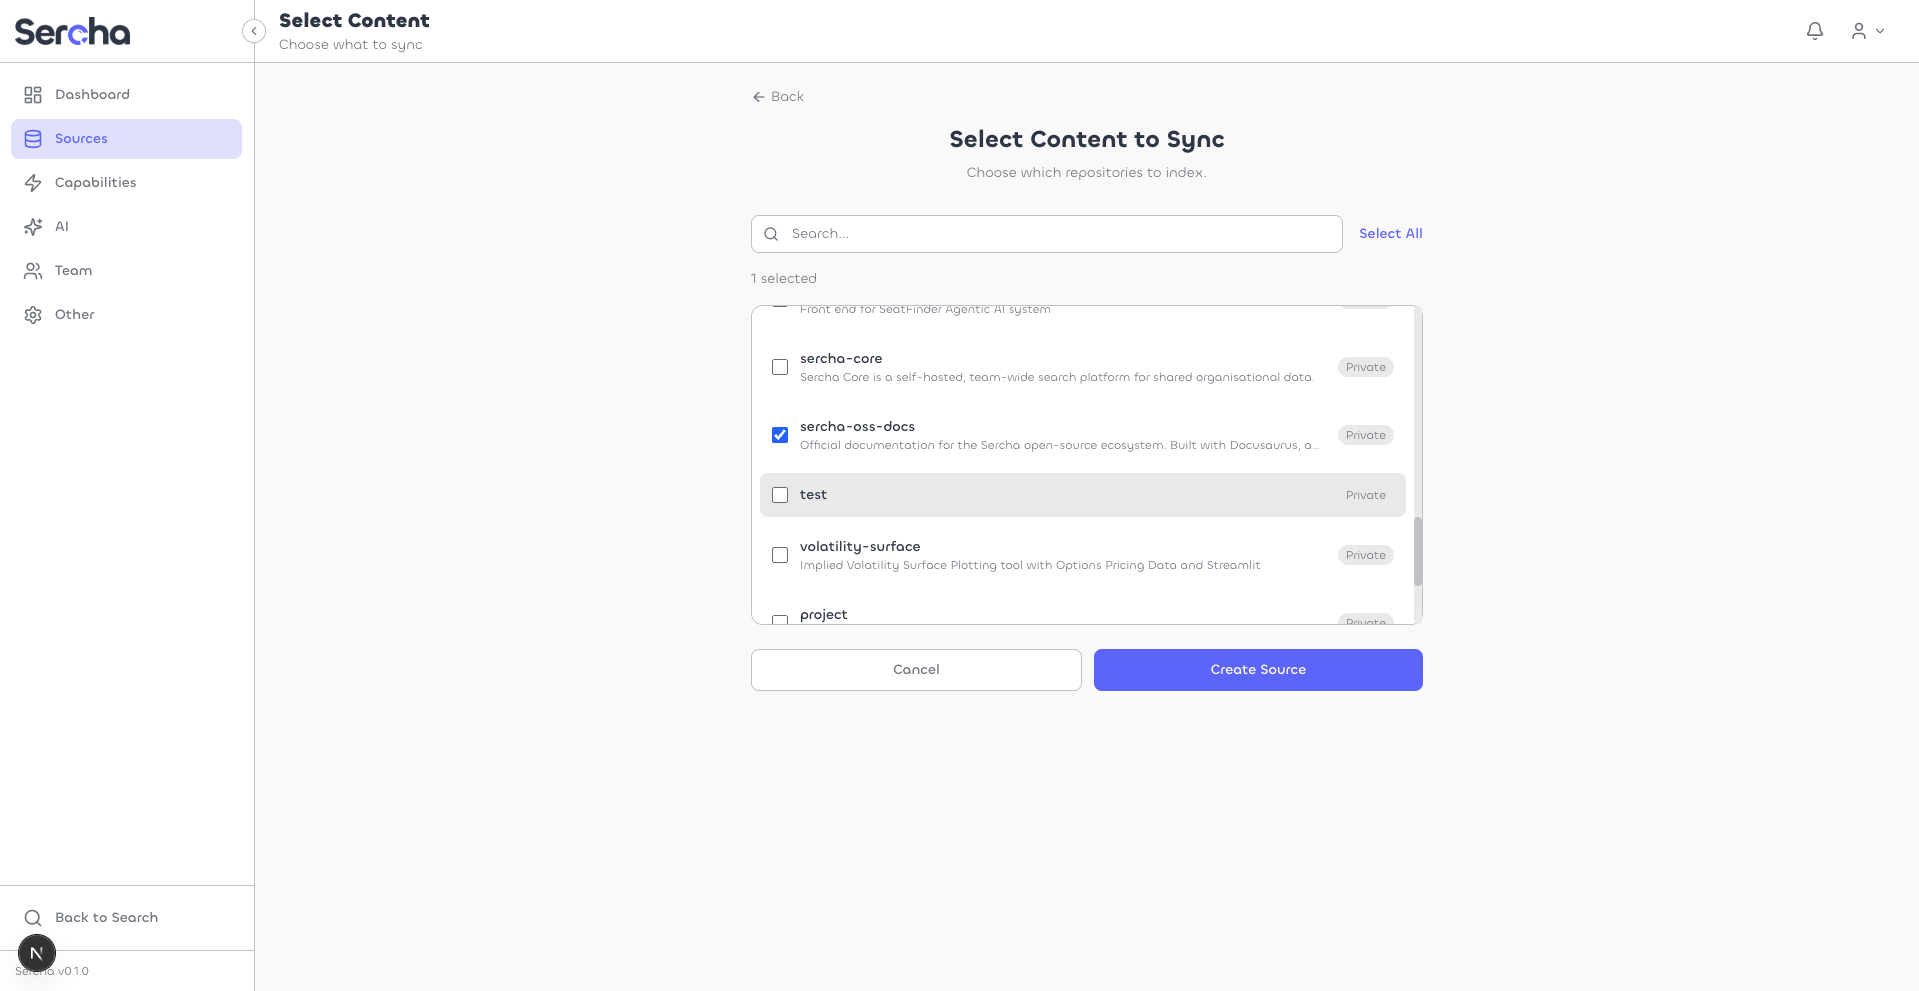
After authorizing, select which repositories to index and click Create Source.
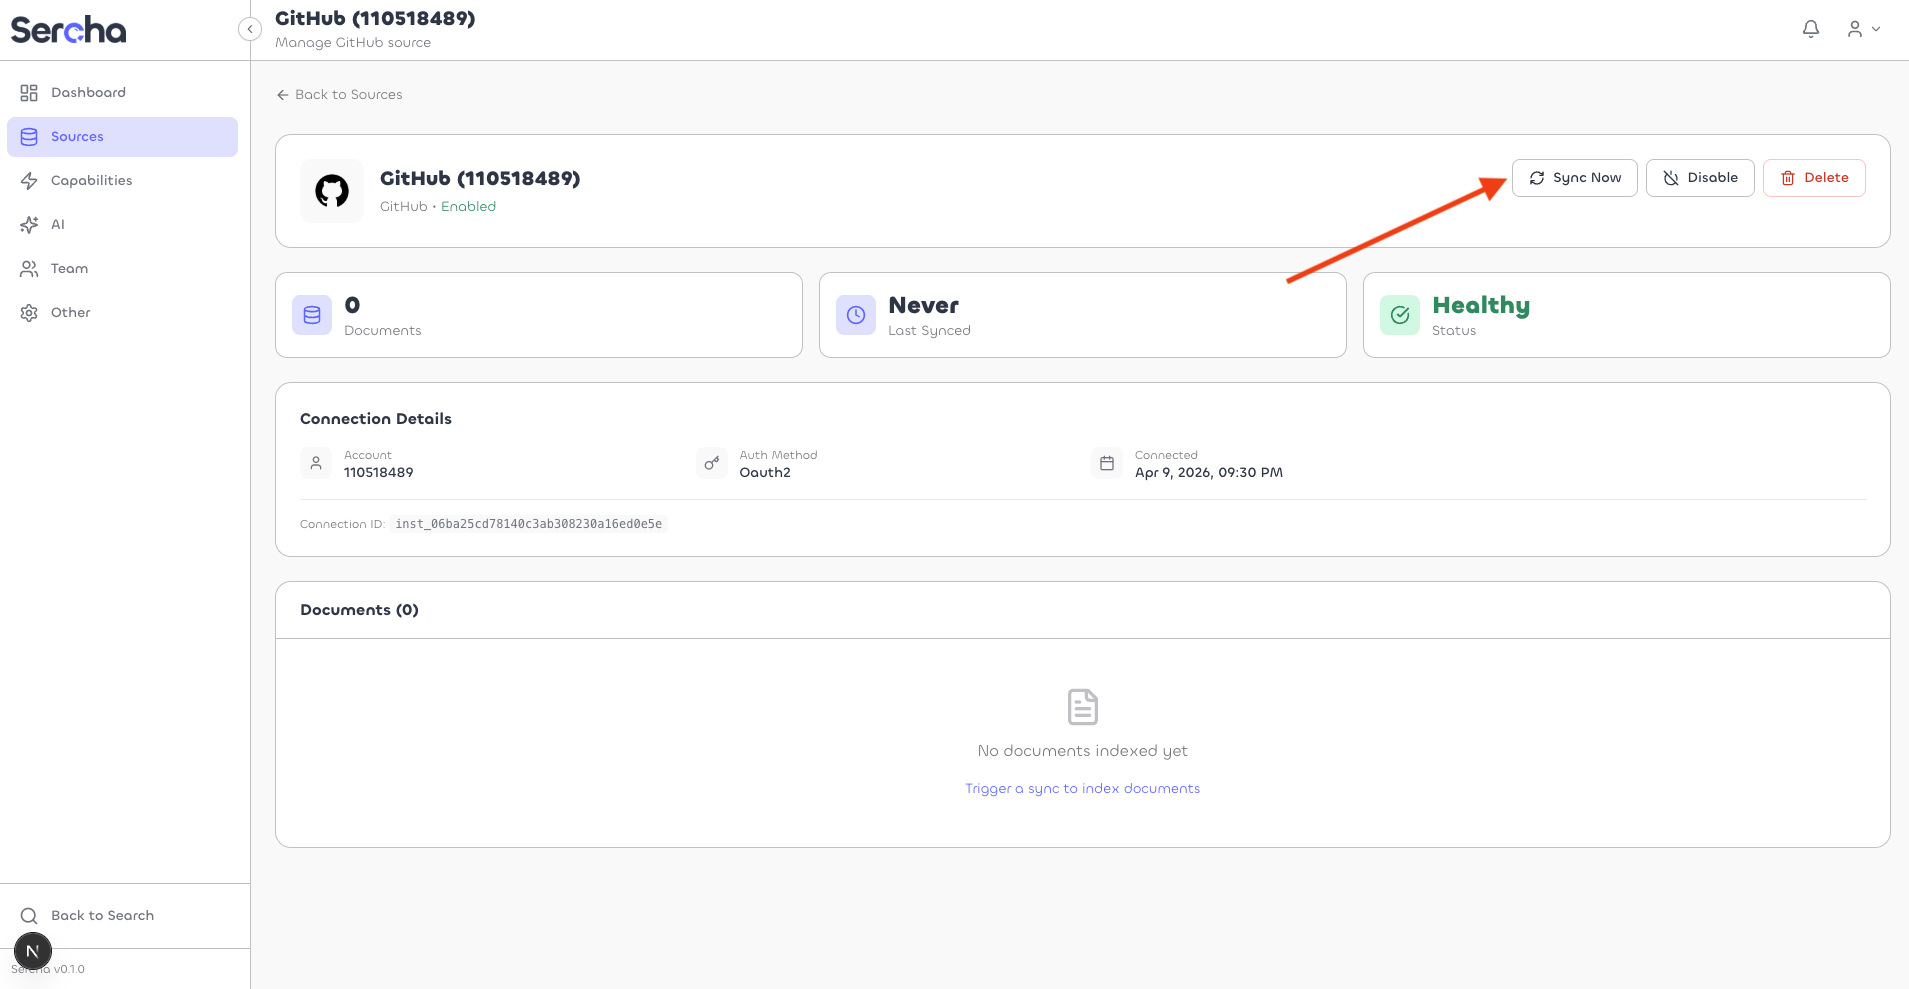
Click into your new source, then click Sync Now to start indexing.
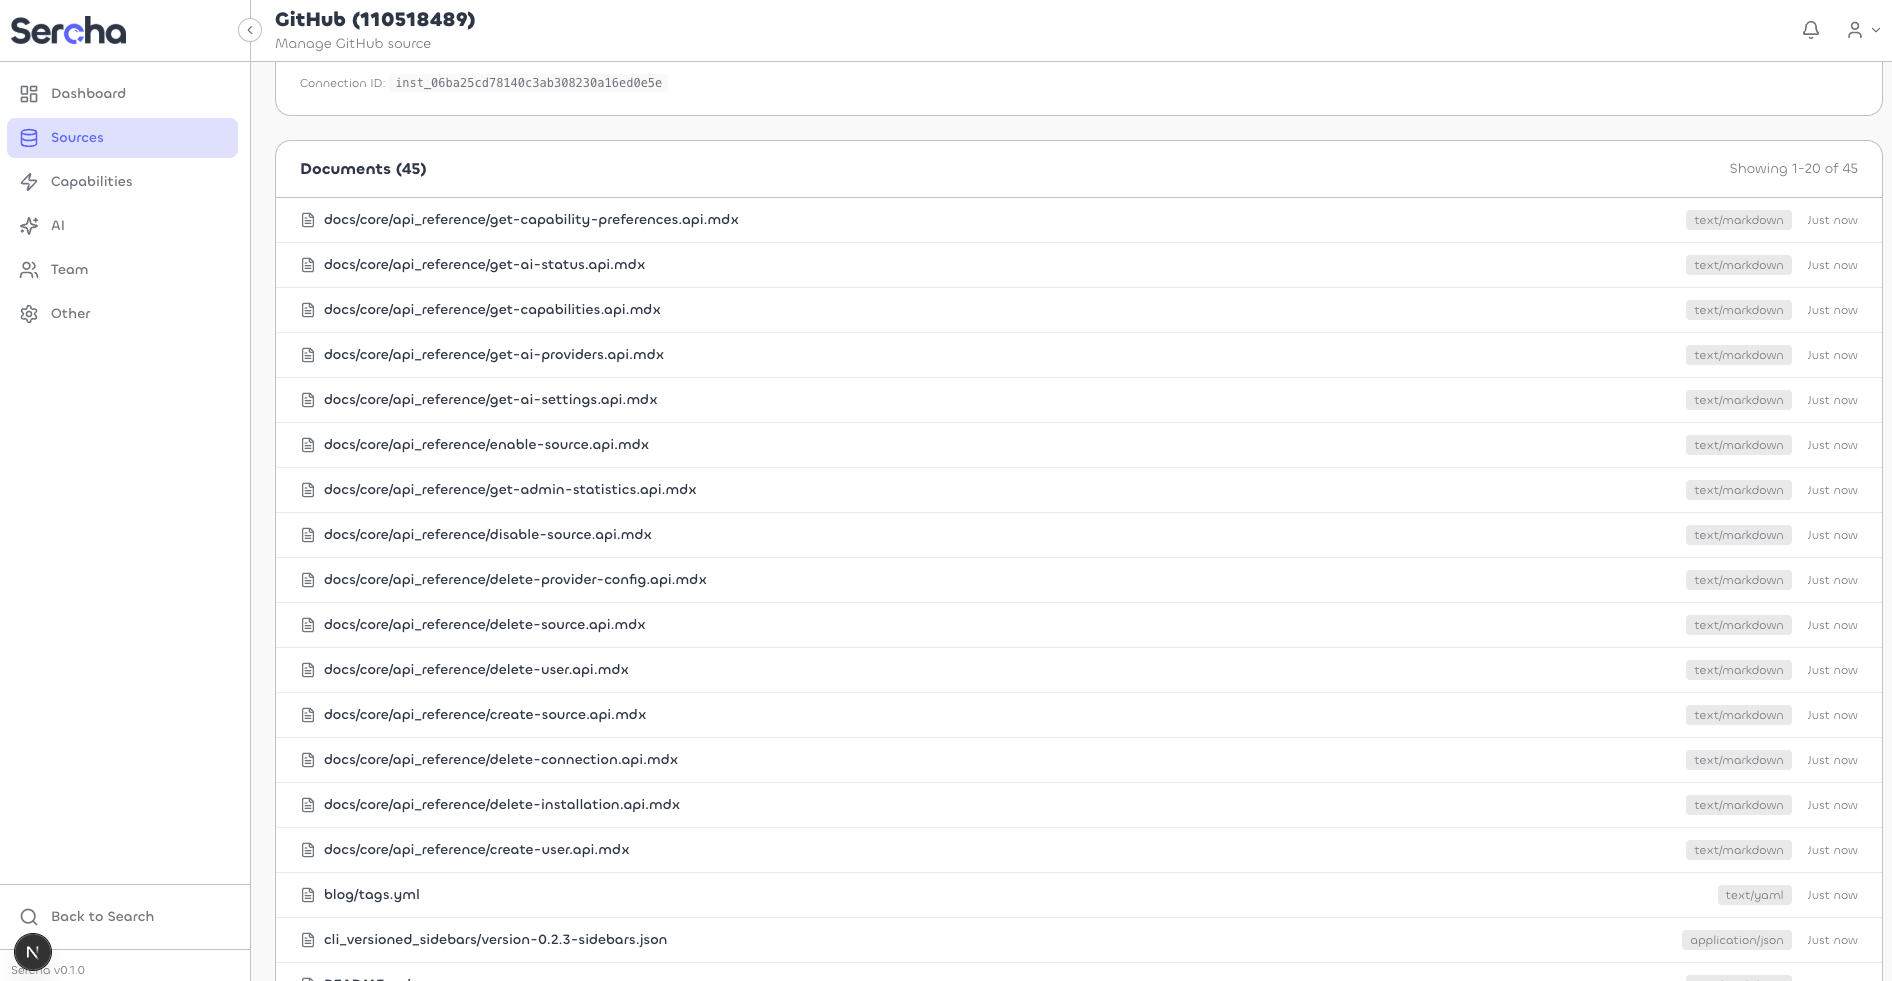
Once the sync completes, you'll see the indexed documents listed on the page.
Connect your GitHub account
Start the OAuth flow via Authorize:
curl -X POST http://localhost:8080/api/v1/oauth/github/authorize \
  -H "Authorization: Bearer $TOKEN"
Open the returned authorization_url in your browser. GitHub shows the consent page - review the permissions and click Authorize. If you belong to any organizations, click Grant next to them.
After authorization, verify the connection via List Connections:
curl http://localhost:8080/api/v1/connections \
  -H "Authorization: Bearer $TOKEN"
Save the connection id from the response.
Create a source and sync
List available repositories for the connection:
curl http://localhost:8080/api/v1/connections/{connection_id}/containers \
  -H "Authorization: Bearer $TOKEN"
Create a source with the repositories you want to index:
curl -X POST http://localhost:8080/api/v1/sources \
  -H "Authorization: Bearer $TOKEN" \
  -H "Content-Type: application/json" \
  -d '{
    "name": "My GitHub Repos",
    "provider_type": "github",
    "connection_id": "{connection_id}",
    "containers": [
      {"id": "owner/repo-name", "name": "repo-name", "type": "repository"}
    ]
  }'
Trigger a sync to start indexing:
curl -X POST http://localhost:8080/api/v1/sources/{source_id}/sync \
  -H "Authorization: Bearer $TOKEN"
Check sync progress via Sync State:
curl http://localhost:8080/api/v1/sources/{source_id}/sync \
  -H "Authorization: Bearer $TOKEN"
6. Search
- Admin UI
- API
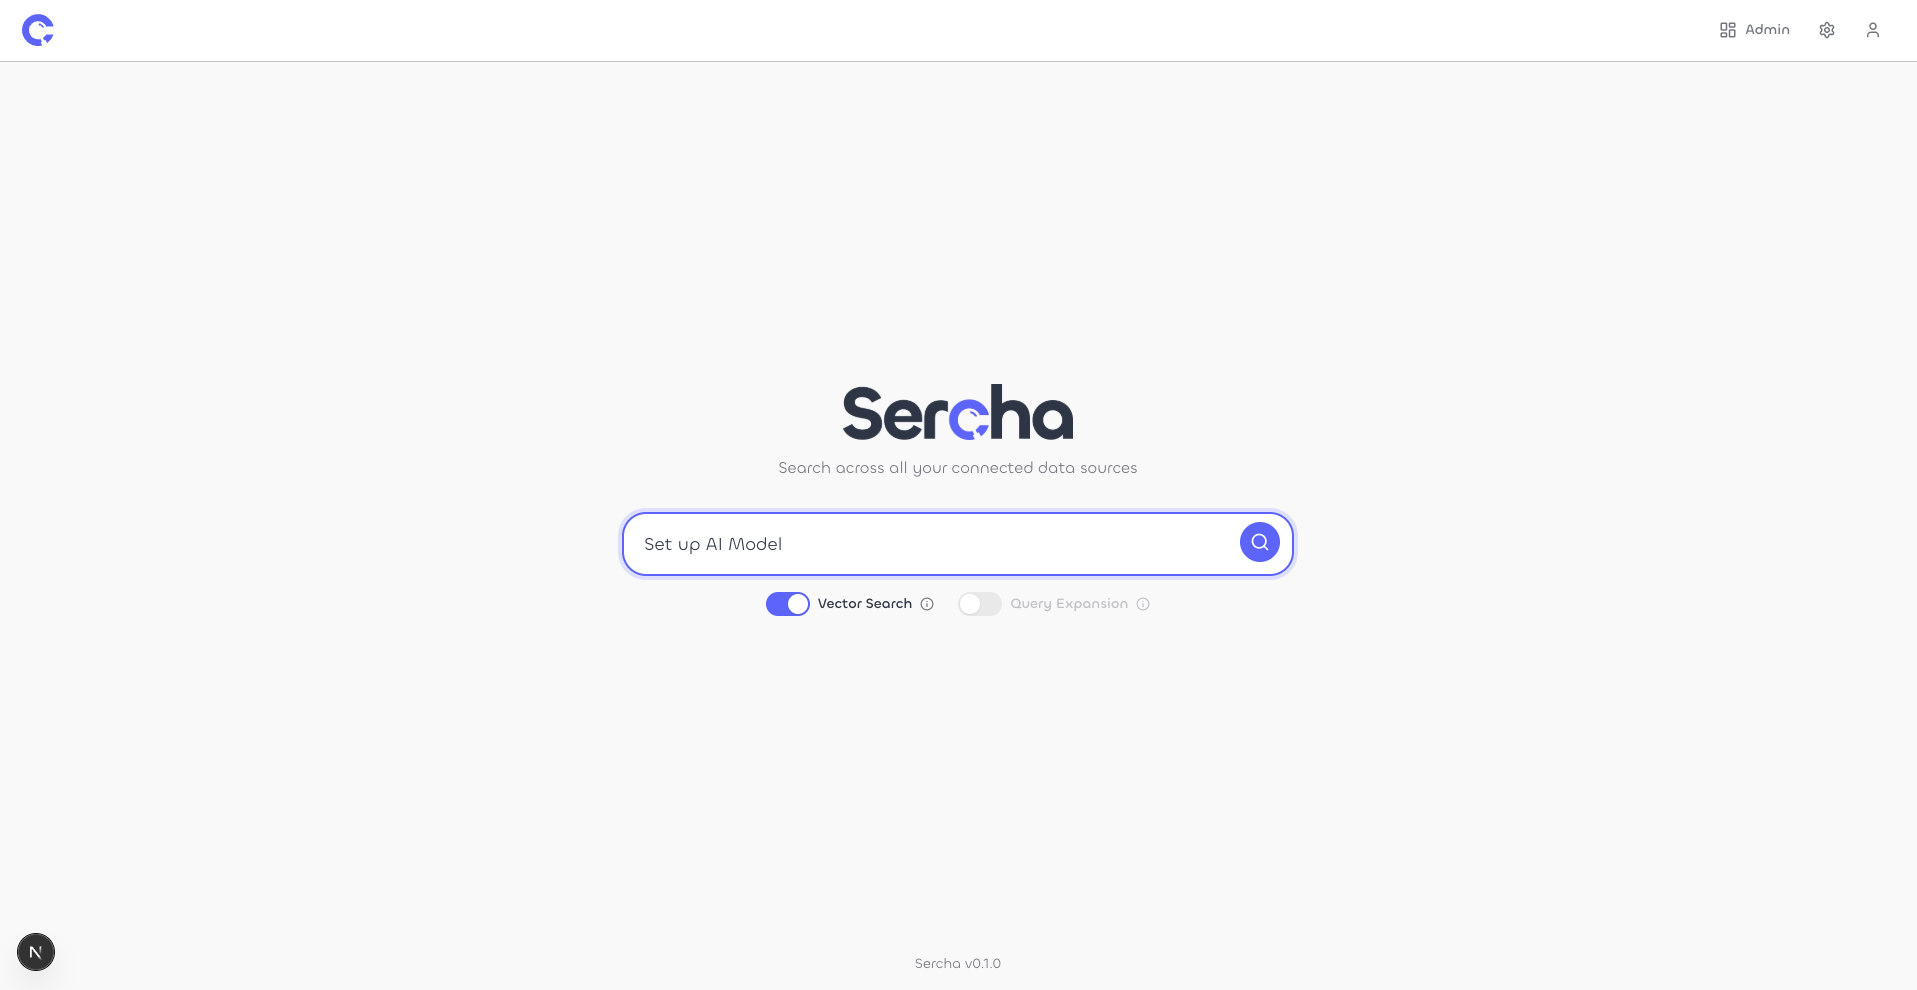
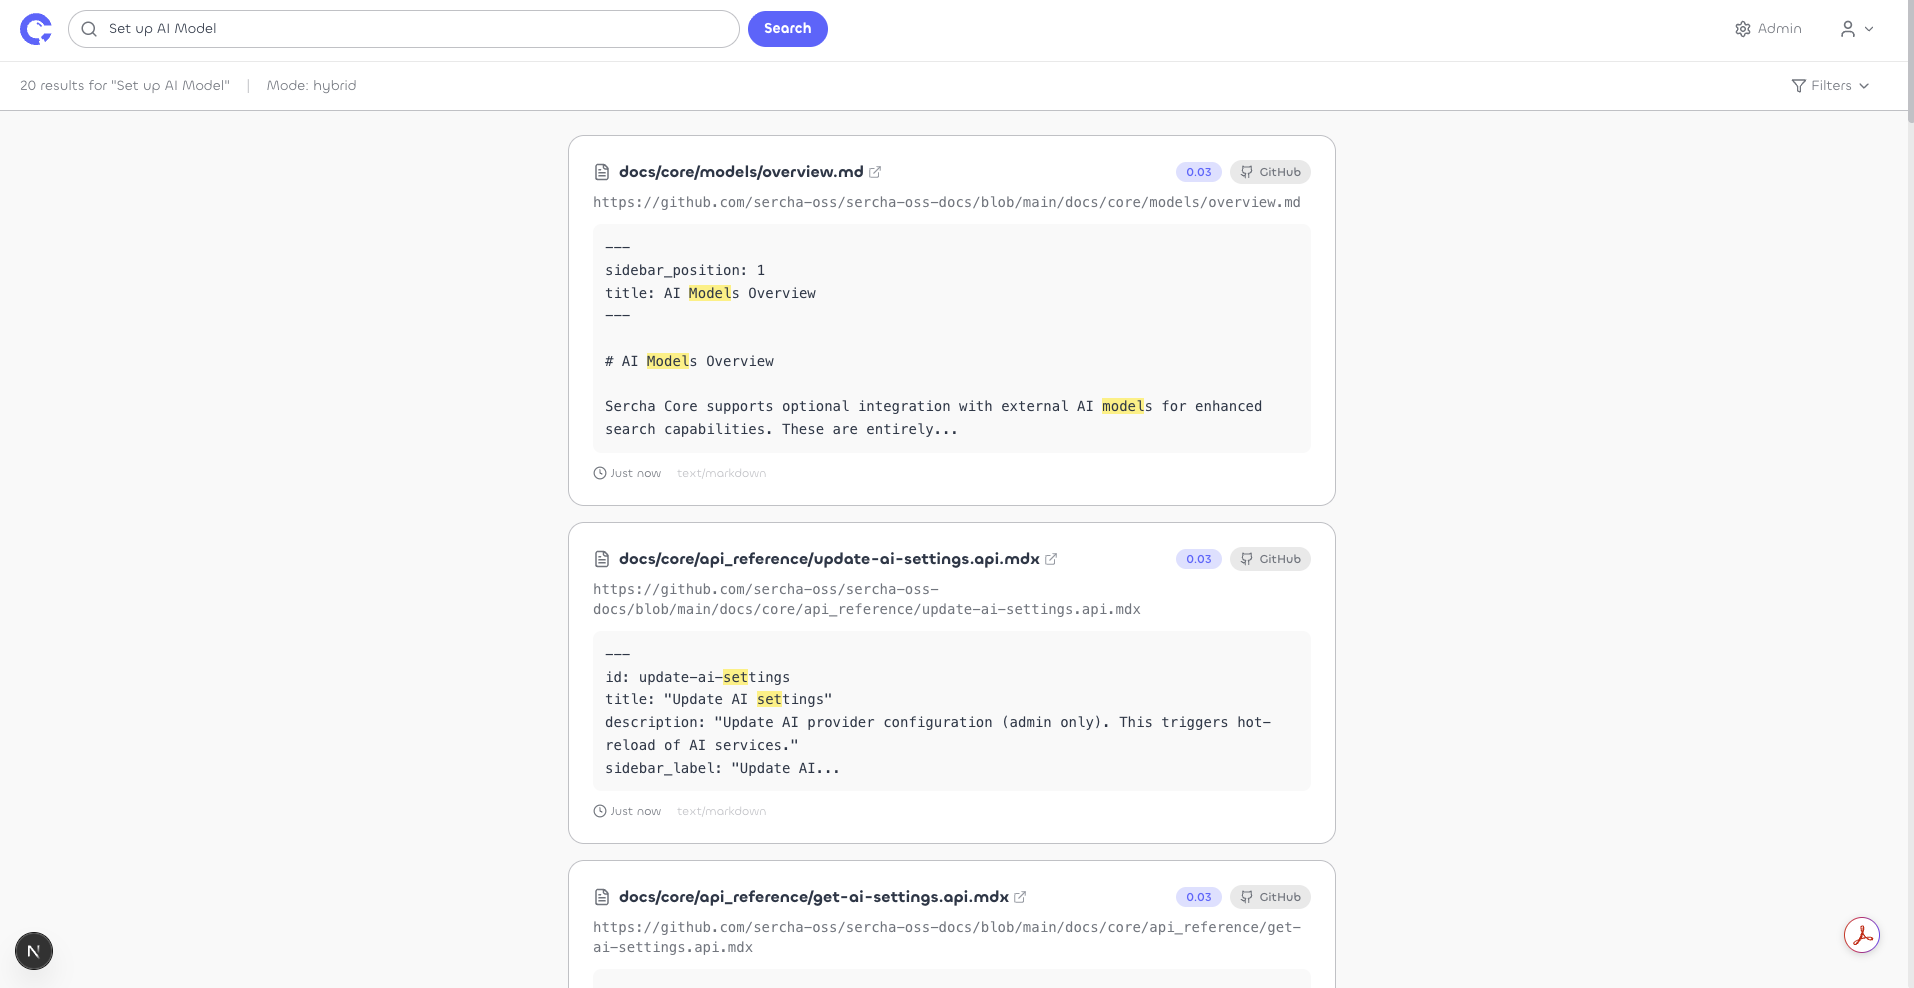
Open http://localhost:3000 to access the search interface. Type a query and hit Search.
Results show matched documents with snippets, relevance scores, and links back to the original source.
Search your indexed content via the API:
curl -X POST http://localhost:8080/api/v1/search \
  -H "Authorization: Bearer $TOKEN" \
  -H "Content-Type: application/json" \
  -d '{
    "query": "your search query",
    "limit": 10
  }'
The response includes matched documents with snippets, relevance scores, and source metadata.
Services
| Service | Port | Purpose |
|---|---|---|
| Admin UI | 3000 | Web interface (via nginx) |
| Sercha API | 8080 | REST API (API + Worker + Scheduler) |
| PostgreSQL | 5432 | Database + pgvector |
| OpenSearch | 9200 | BM25 full-text search |
Stopping
# Stop (preserves data)
docker compose --profile ui down

# Stop and delete all data
docker compose --profile ui down -v
Next steps
- Connectors - connect other data sources
- Indexing Guide - learn the full indexing workflow
- Search Guide - search modes, filtering, and analytics
- Development Setup - build from source with hot reload
- Configuration - all environment variables